
| Perfect Plants |
|
|
Very nice Salvia divinorum plants. |
|
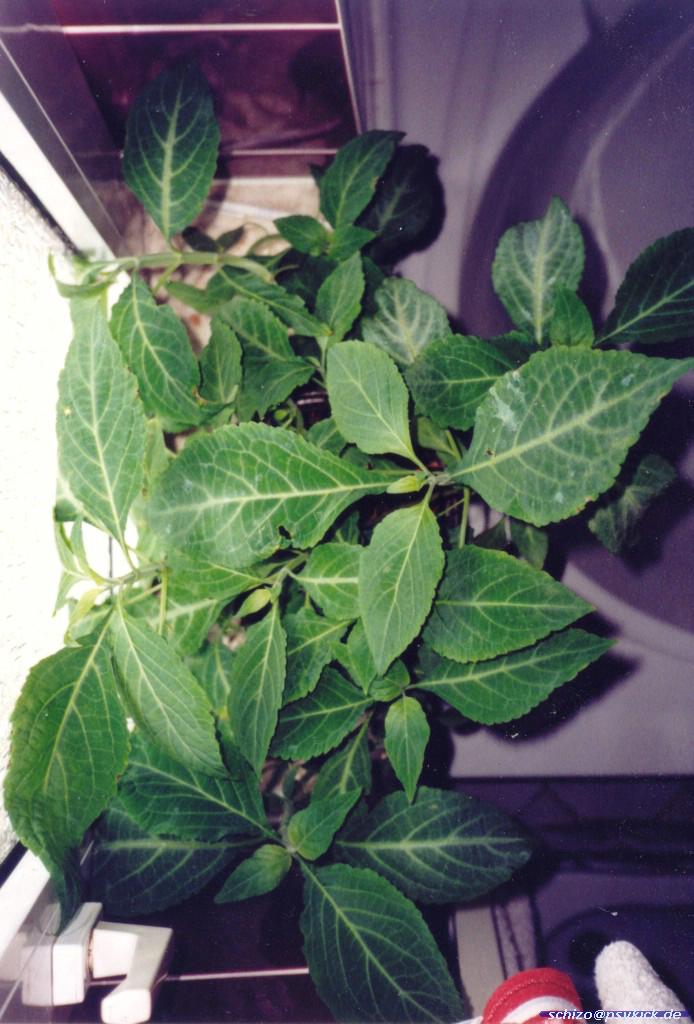
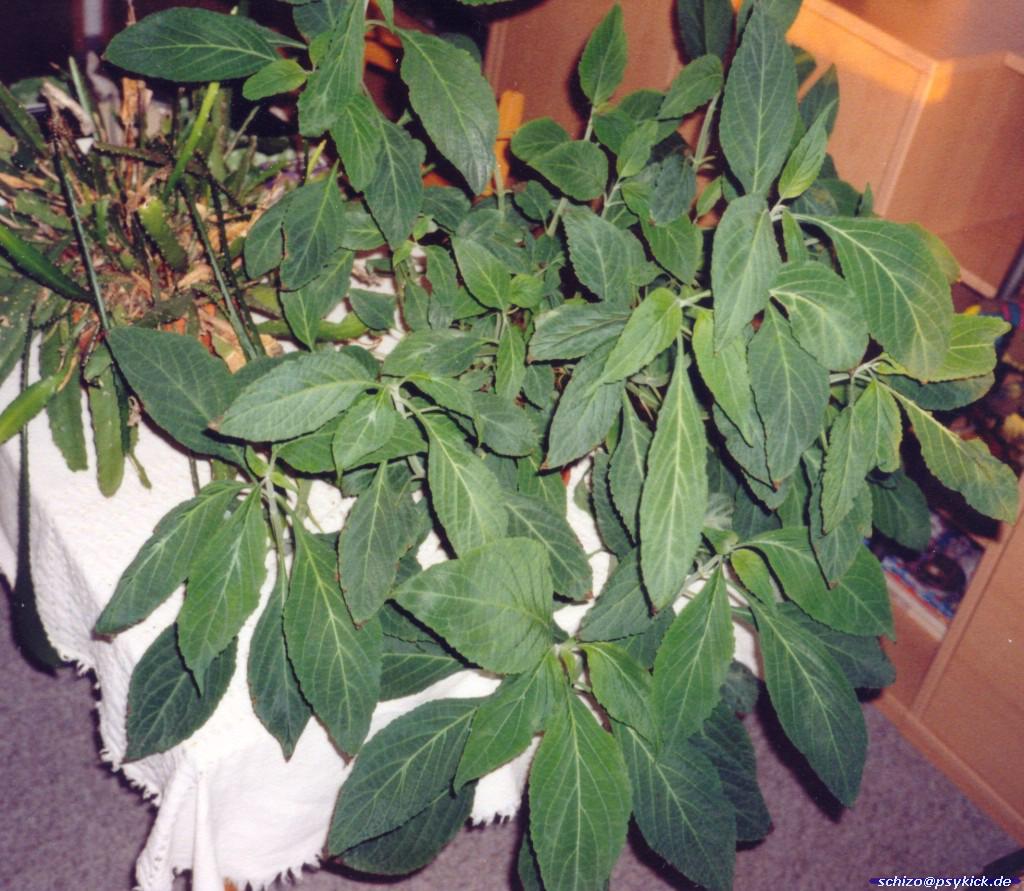
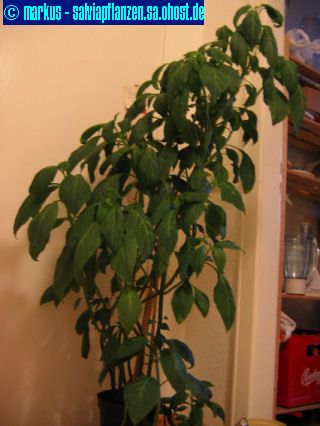
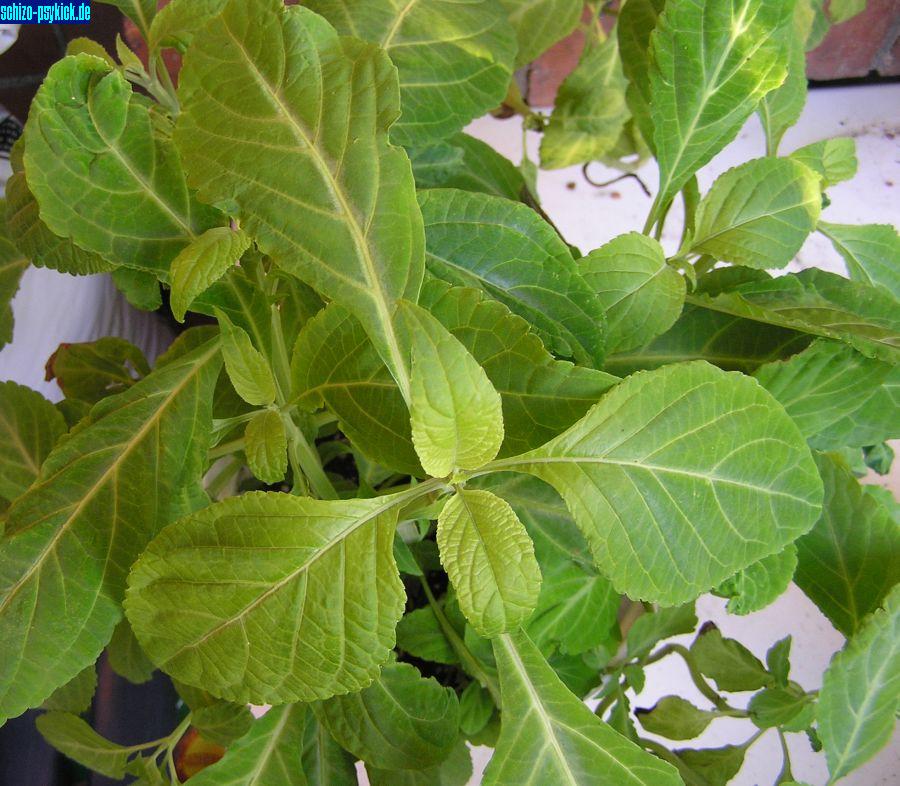
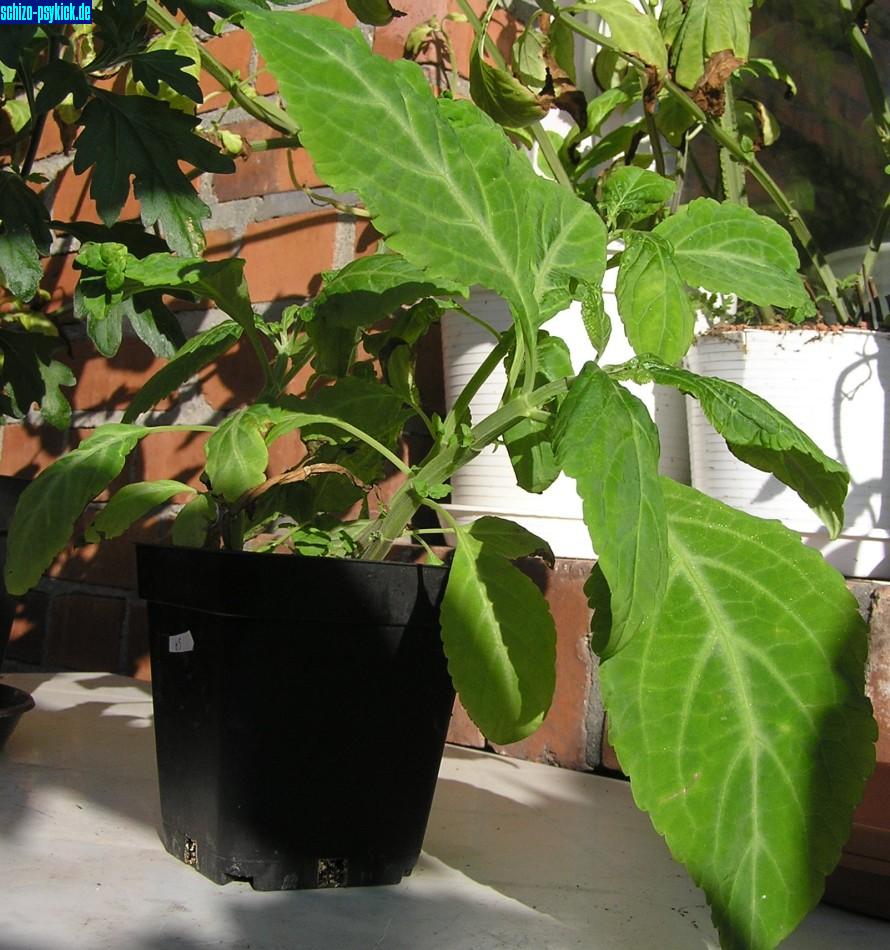
Super-Salvia #1 - Image 1 A really nice plant at its development place. The plant was placed as a spare exemplar at this window facing to the south in a bathroom and there she grew like hell. The high humidity and the south with a lot of sun were two major factors. The direct sun wasn't a problem, because the air inside the bathroom was not only humidy but also even in the summer quite cool. These 3 good factors combined with a good fertilizer resulted in that wonderful plant. |
|
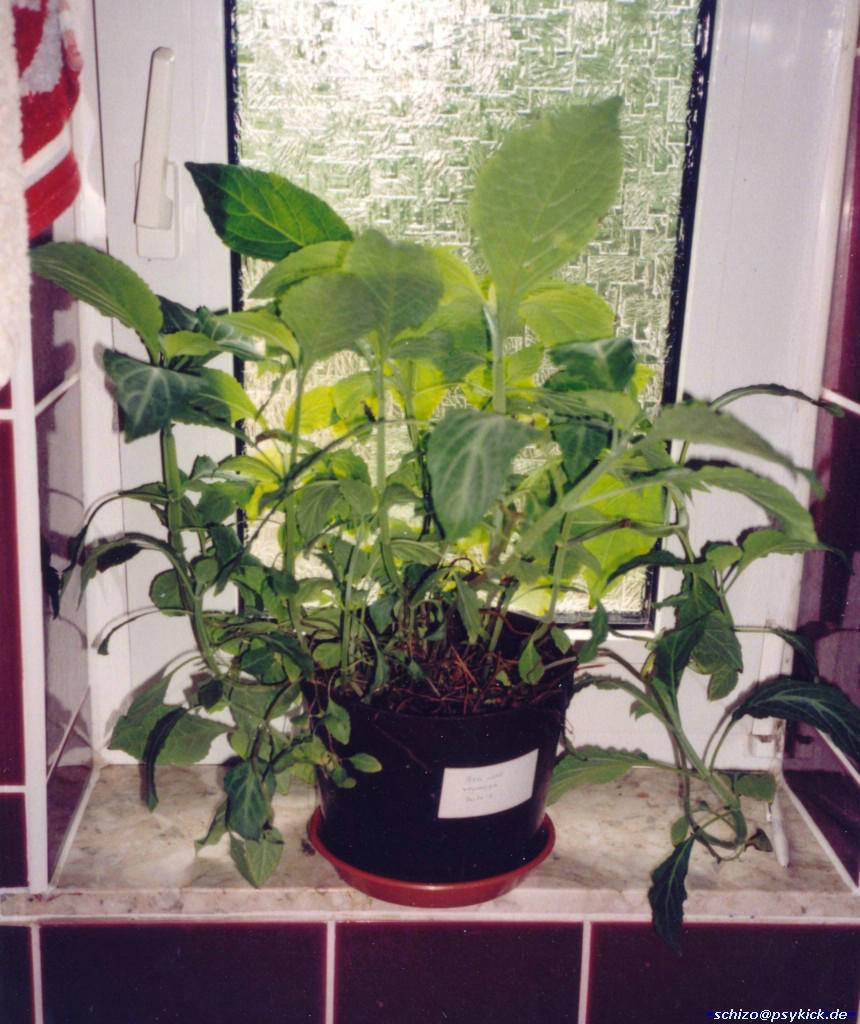
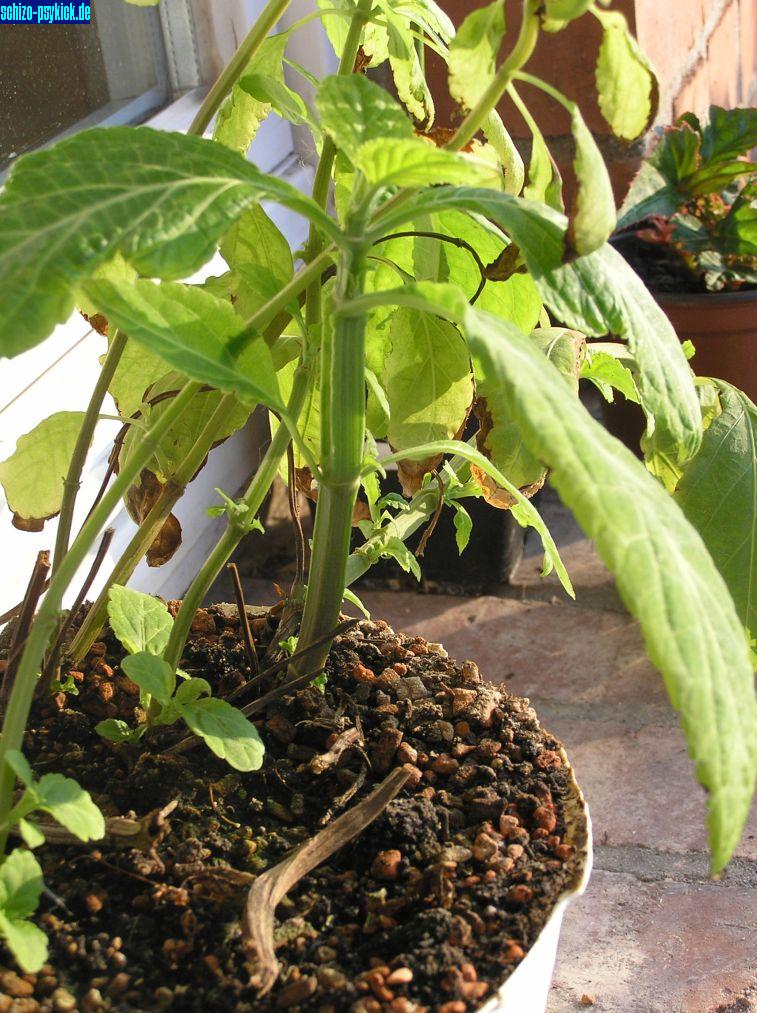
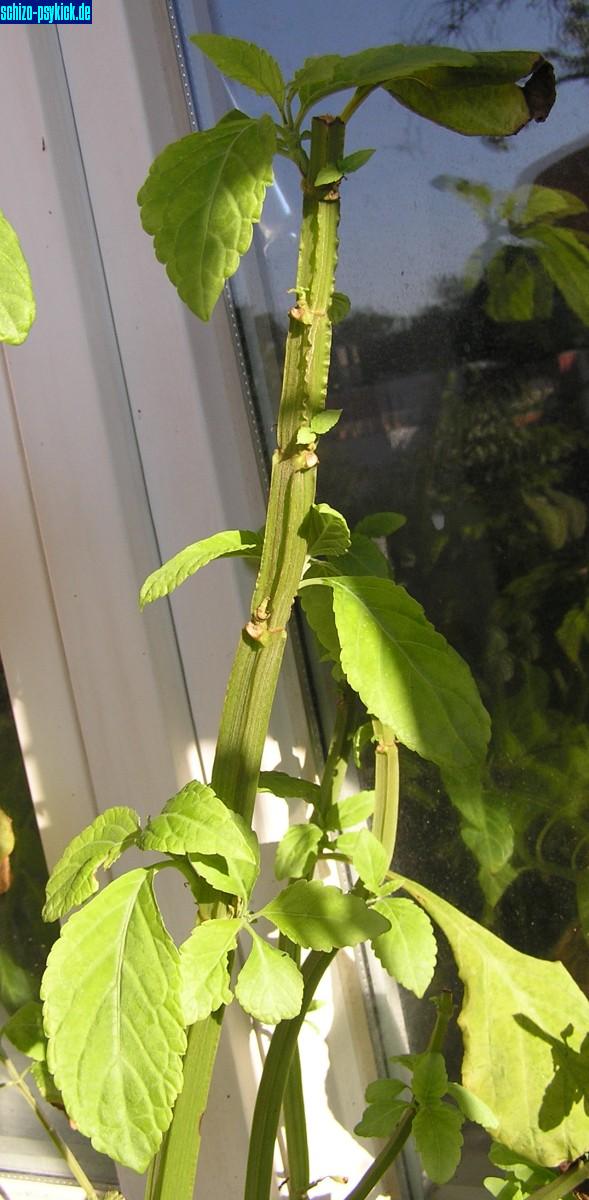
Super-Salvia #1 - Image 2 The same Salvia from a side view at her window place. You can see the stems becoming thicker and the leaves also becoming quite big during her development. These are the best signs that the plant is doing well. |
|
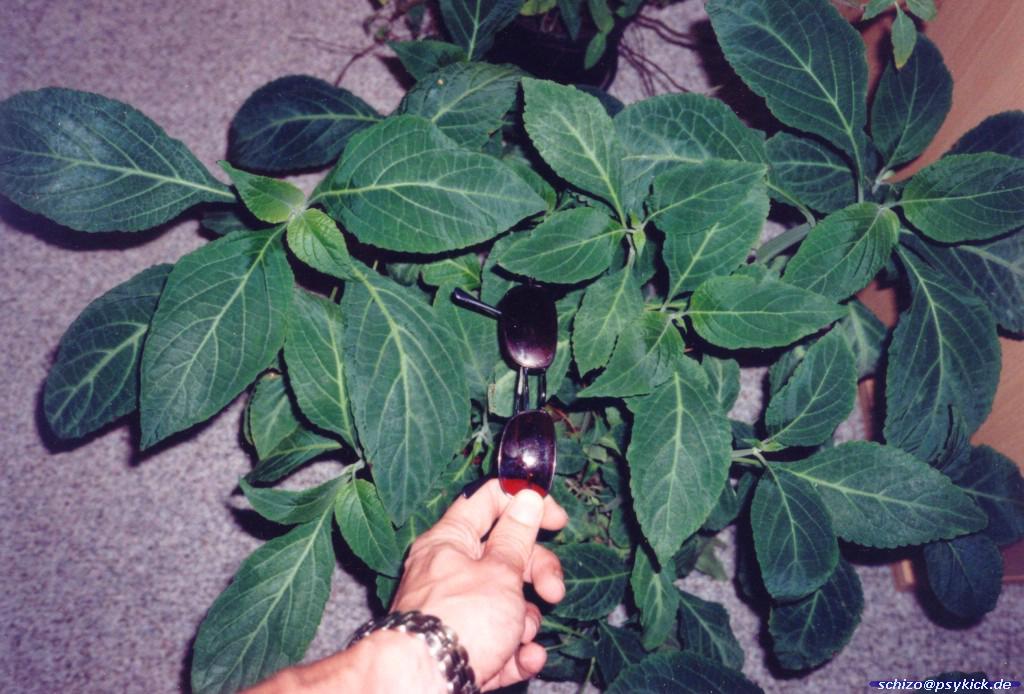
Super-Salvia #1 - Image 3 Same plant to a later time at another place compared in size with sunglasses. |
|
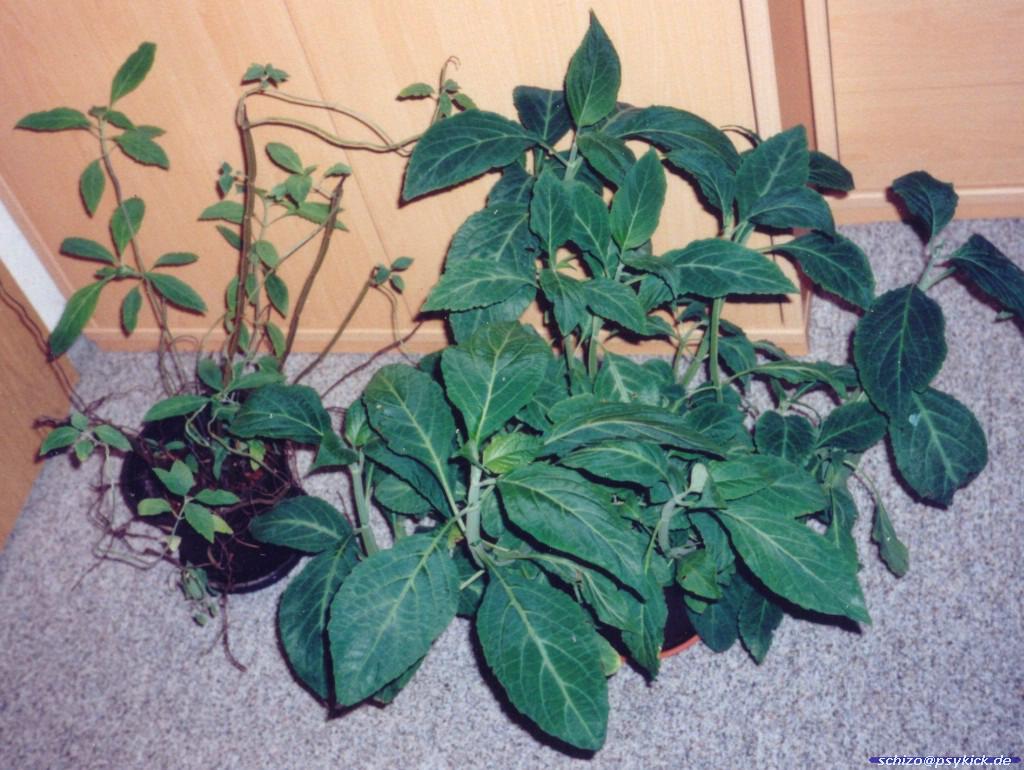
Super-Salvia #1 - Image 4 Same plant compared to another Salvia divinorum which is not doing so well. Here you also can understand how senseless information like "I smoked 3 leaves" are, because the sizes of Salvia divinorum leaves can vary much. |
|
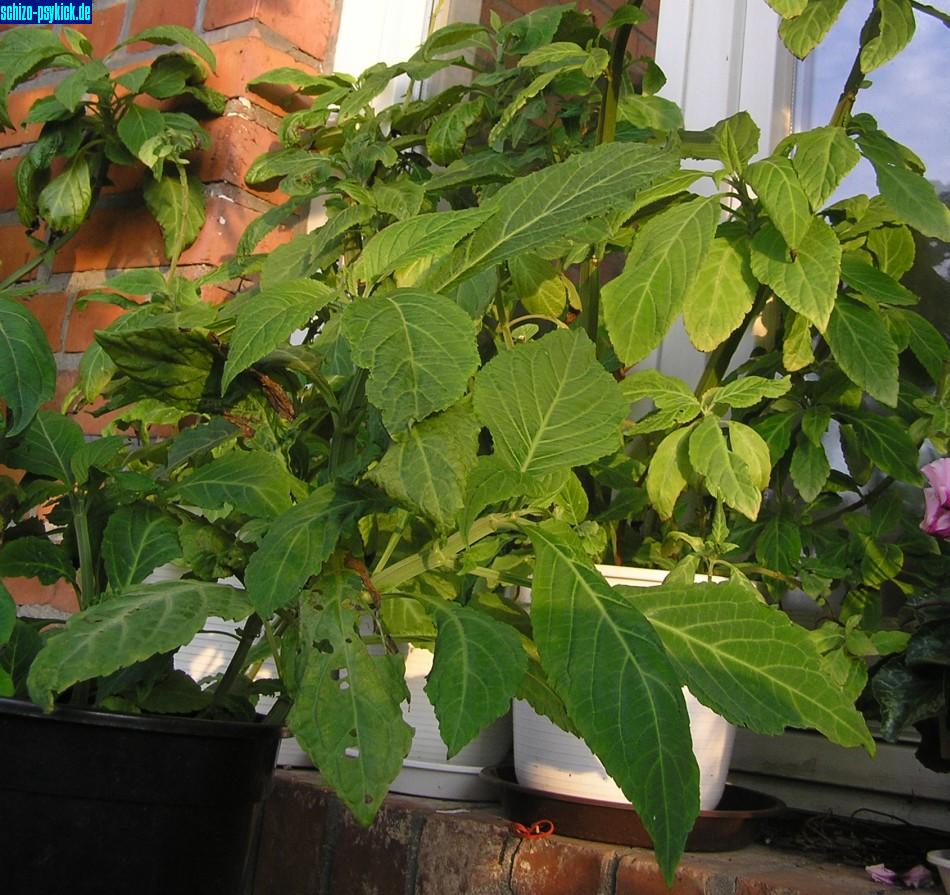
Super-Salvia #1 - Image 5 The same plant fully developed. During the dark winter she dropped most of her leaves. But if I would had placed her at the same bathroom window, then she would started to bring new shots in the spring. |
|
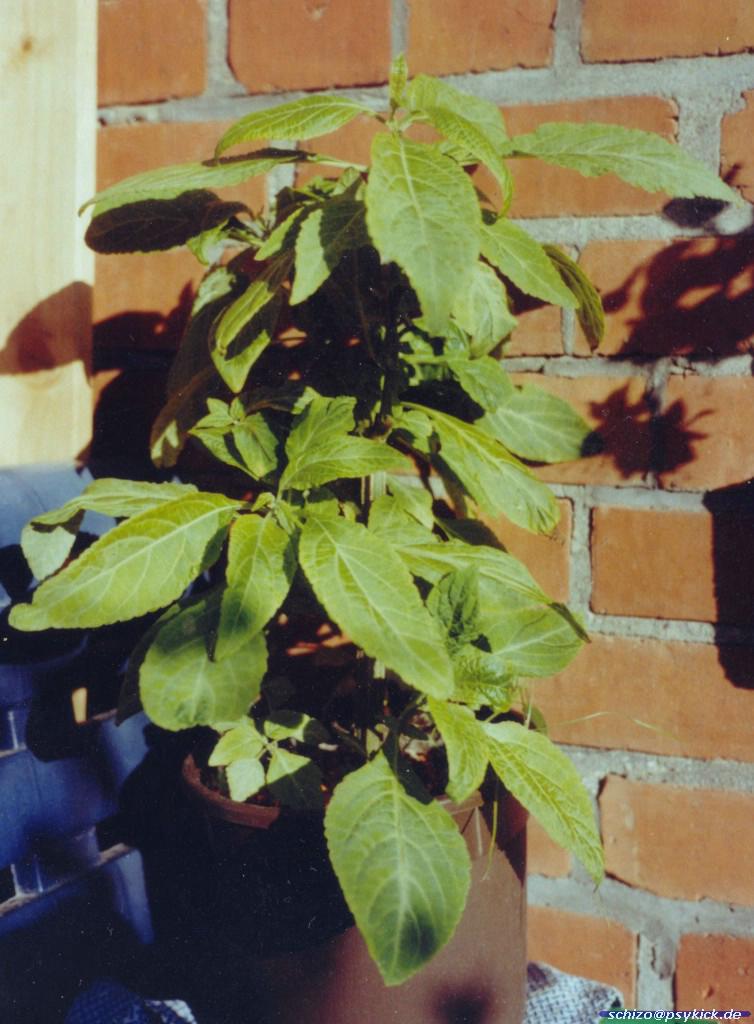
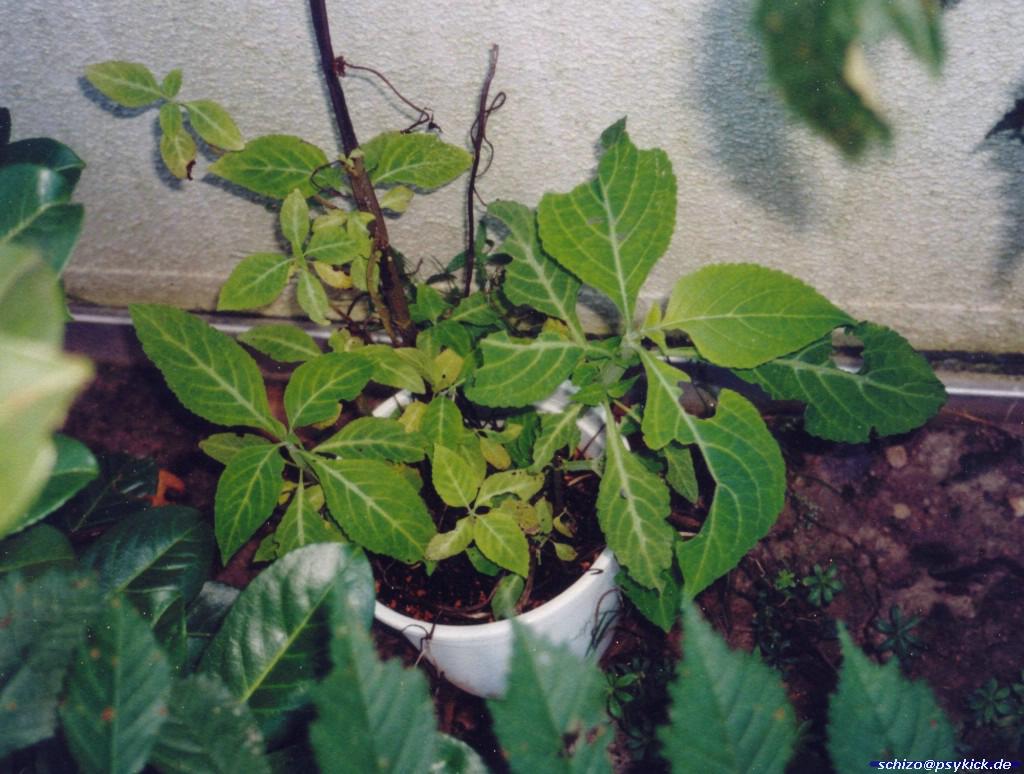
Super-Salvia #2 - Image 1 Here another plant that I've got from headshop.de. She has been also well developed after standing during the summer on my balcony facing to west-north and getting the late afternoon and evening sun. |
|
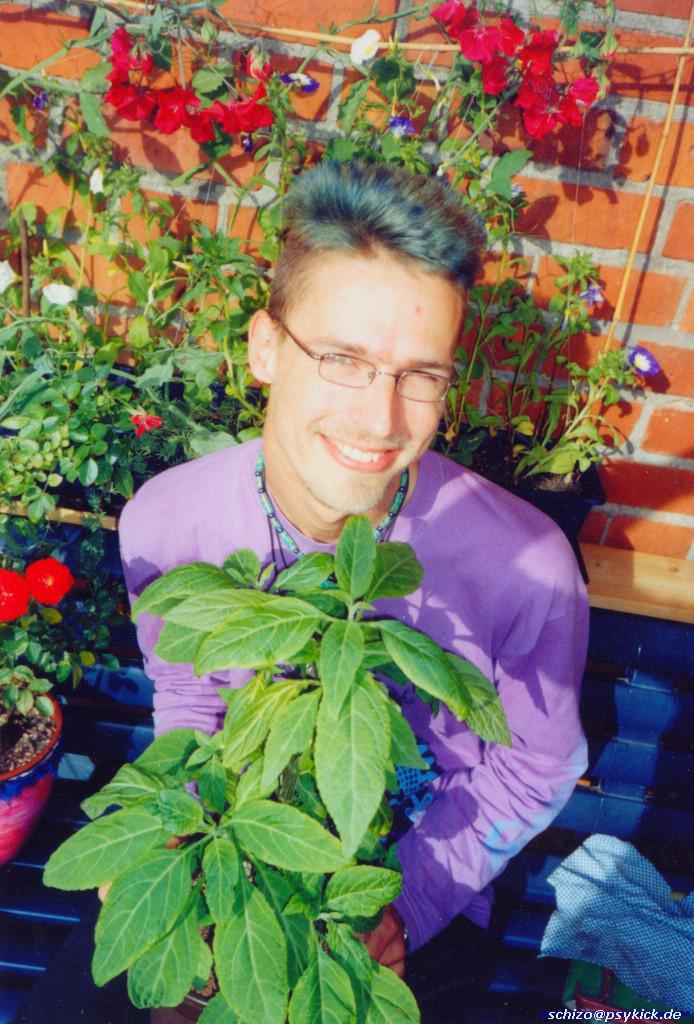
Super-Salvia #2 - Image 2 Here the same plant like on the image before, but this time together with myself, being happy about her growing style. |

|
Fluoro Salvia This plant grew under fluorescent light that she likes much. When you use a lot of fluoro bulbs then you have a lot of light for good growing but not so much thermic rays like with other lamp types. Thats why fluorescent lamps are a good choice for growing salvia. |
|
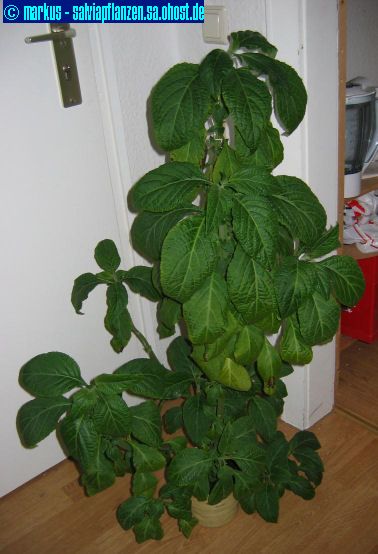
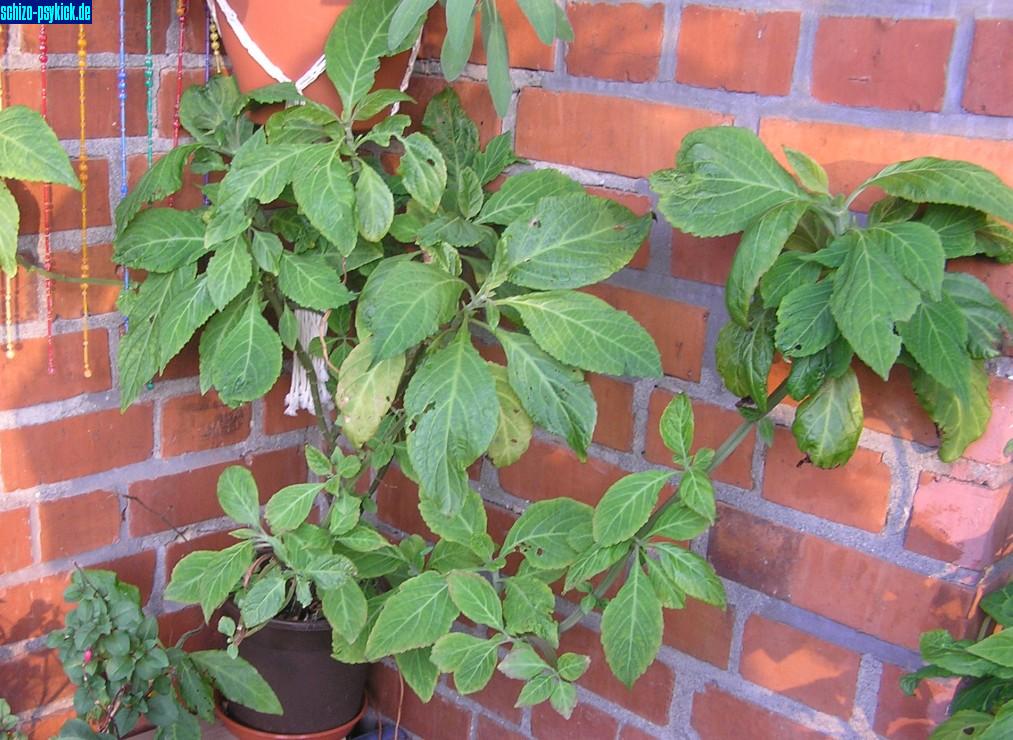
Super-Salvia by Markus - Image 1 Here a real monster from a grower named Markus. He also sells his plants across europe. Have a look at his Salvia-Plants Page |
|
Super-Salvia by Markus - Image 2 Here the same plant later. She continued to grow. Now it looks like a small tree :) |
|
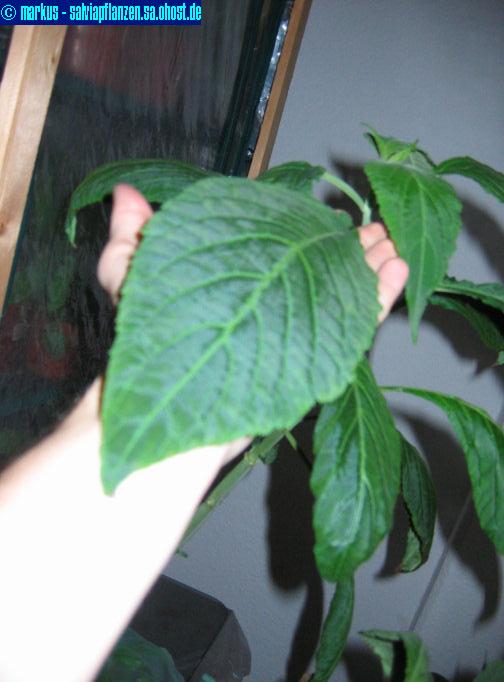
Super-Salvia by Markus - Image 3 Monster leaf. |

|
Fat Leaf Salvia divinorum leaf and 1 Eurocent. |
| Outdoor Plants |
|
|
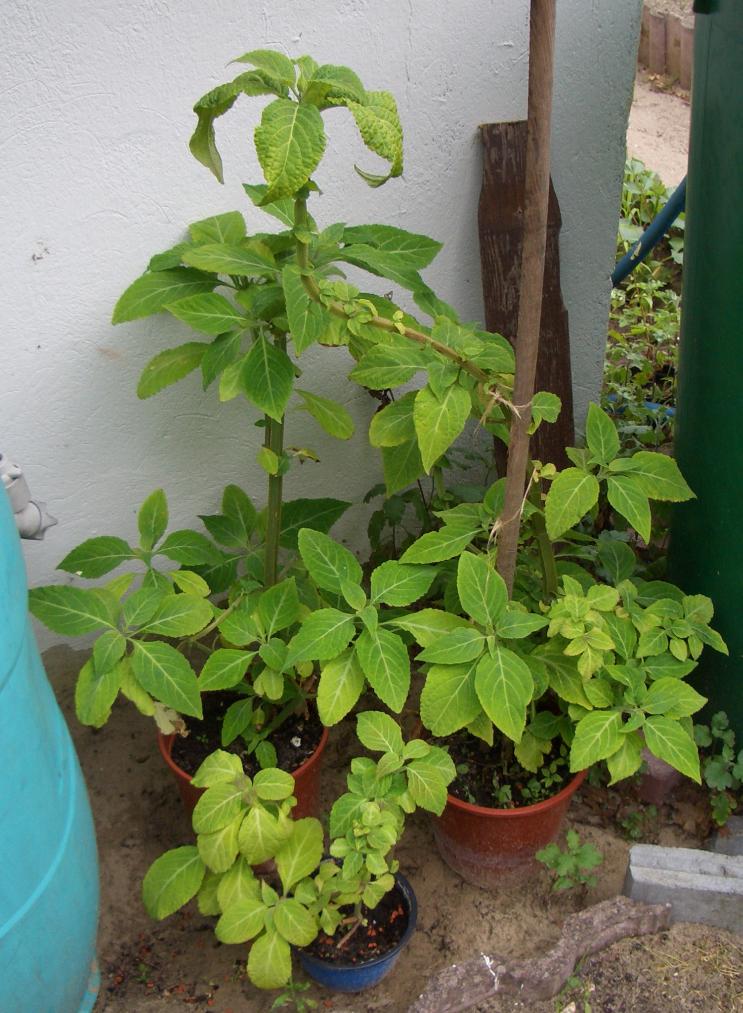
Salvia divinorum plants that has been grown outside in middle germany. Also the Super-Salvia #2, that is not shown here, was an outdoor plant. |
|
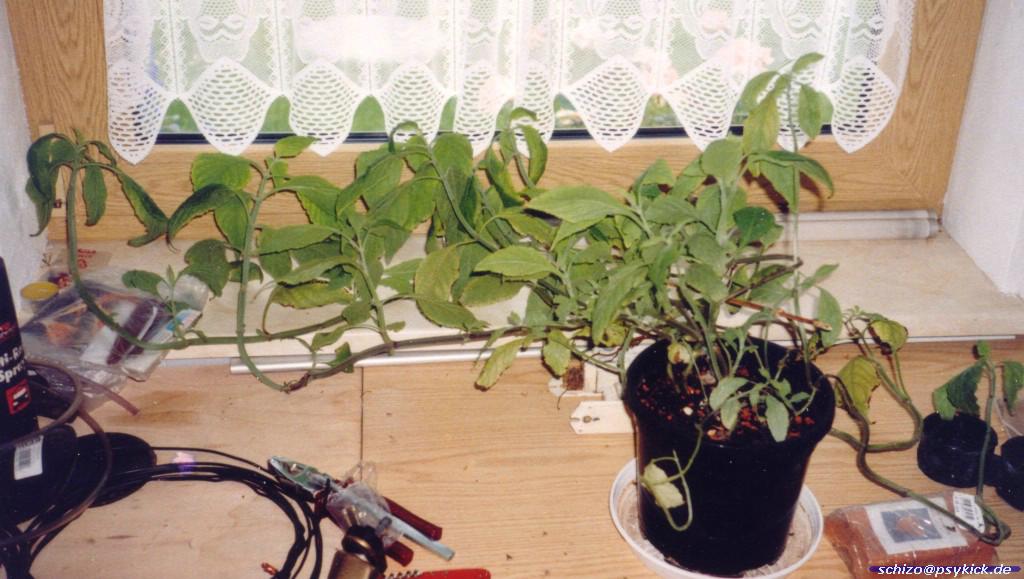
Outdoor Salvia 1 This Salvia was standing at the nothern side of a small garage so she captured only the evening sun. She developed well there because outside is even at such a northern side of a garage enough ambient ligth. But one problem were fucking slugs (the nacket ones) that like to eat parts of the leaves. This aggresive species ate also a lot of other plants and was a real plague that year because they came from somewere else, tasted bad and thats why they had not much enemies. |
|
Outdoor Salvia 2 Two plants standing on a north-west balcony during summer. |
|
Outdoor Salvia 3 Plant standing on a north-west balcony during summer. |
|
Out of nowhere Out of nowhere came the plant with the fat stem. Pot was standing outside during spring and summer. |
|
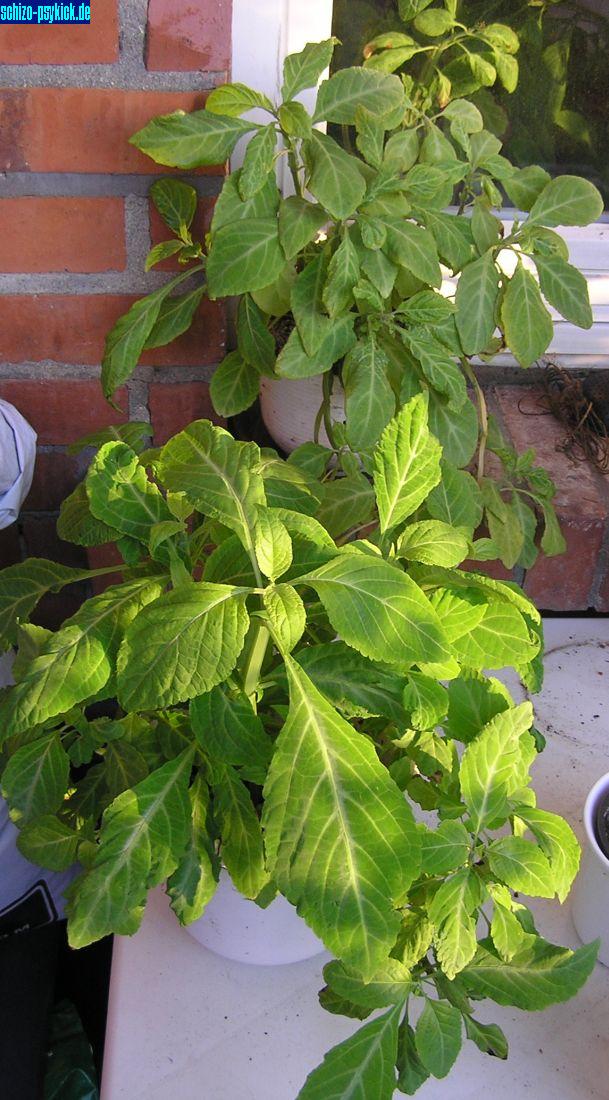
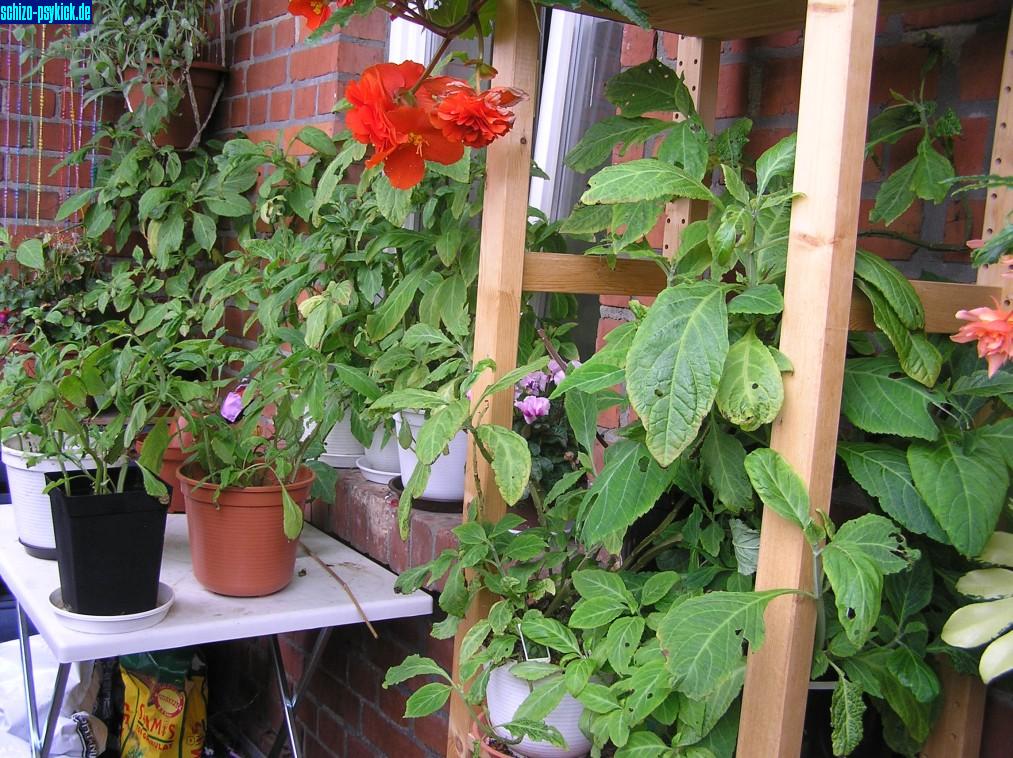
Balcony 1 Some plants on a north-west balcony. |
|
Balcony 2 A plant on a north-west balcony. |
|
Balcony 3 Some plants on a north-west balcony. |
|
Balcony 4 Who is looking there? |
|
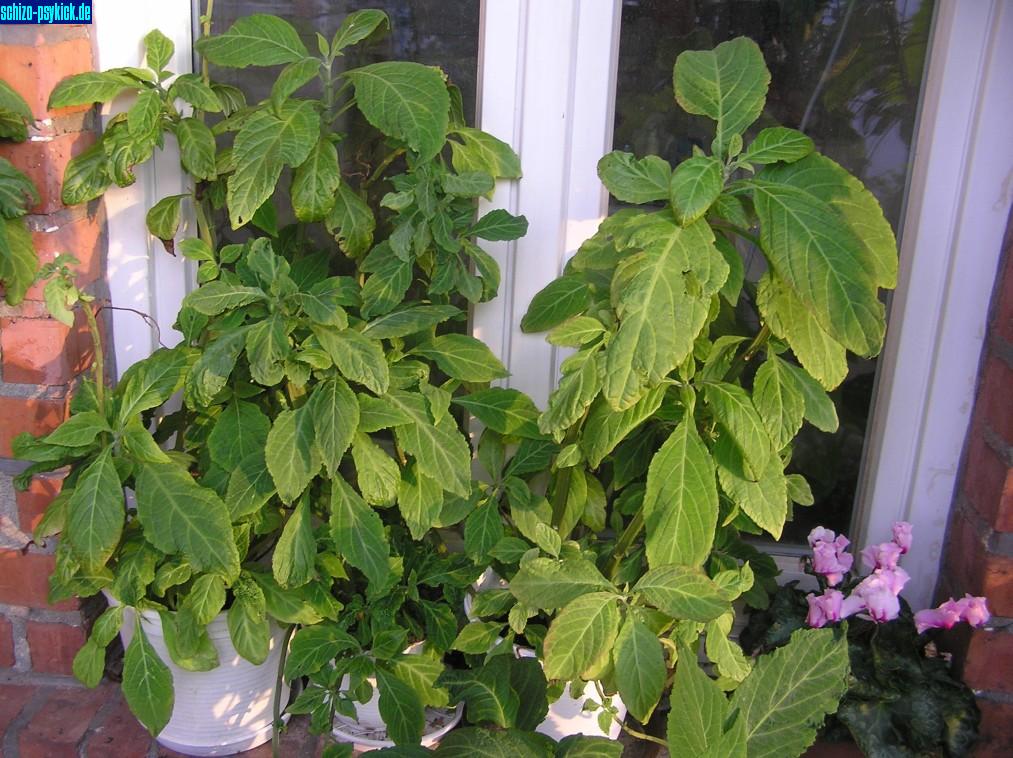
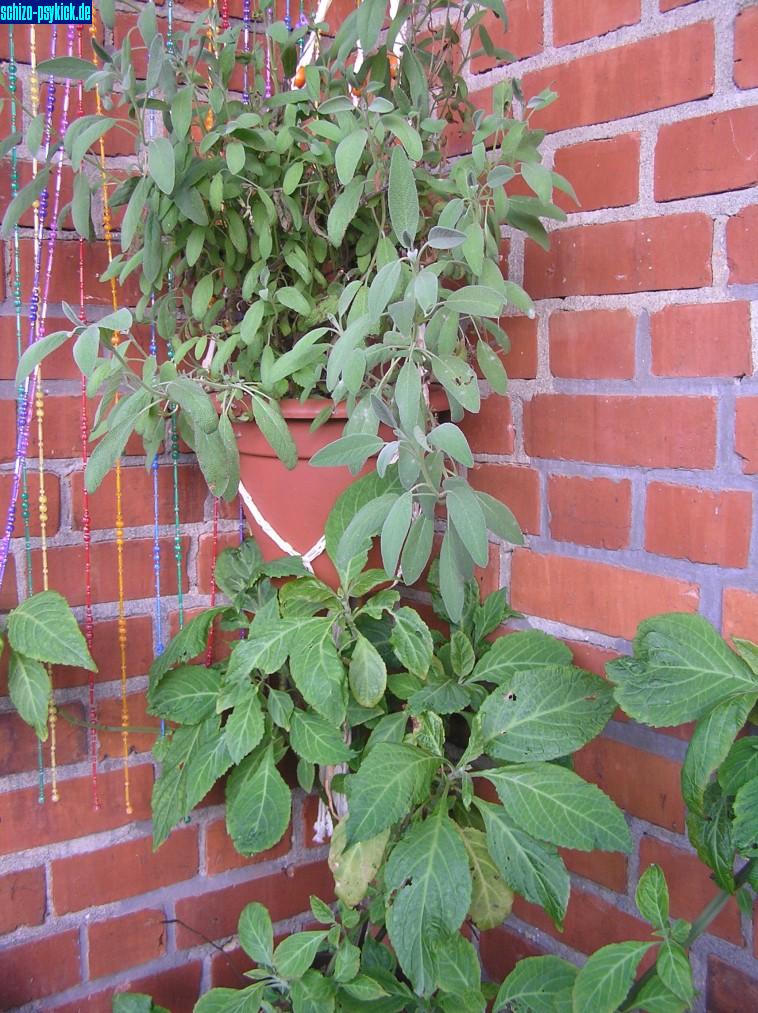
Balcony 5 Cooking sage above - Salvia divinorum below |
|
Balcony 6 Some plants on a north-west balcony. |
|
Spring 1 Fresh sprouts during spring on balcony. |
|
Spring 2 New sprouts on old branches. |
|
Spring 3 New sprouts on old branches. |
|
Outdoor in the garden Nice outdoorplants in a german garden Thanx to Seb for the image |
| Vegetative Growing |
|
| Here some pictures of Salvia divinorum cuttings and sprouting plants. |
|
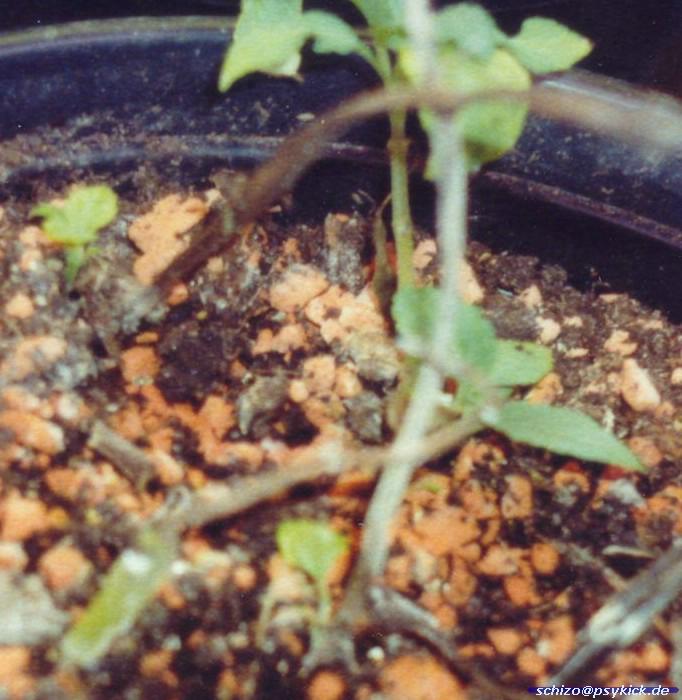
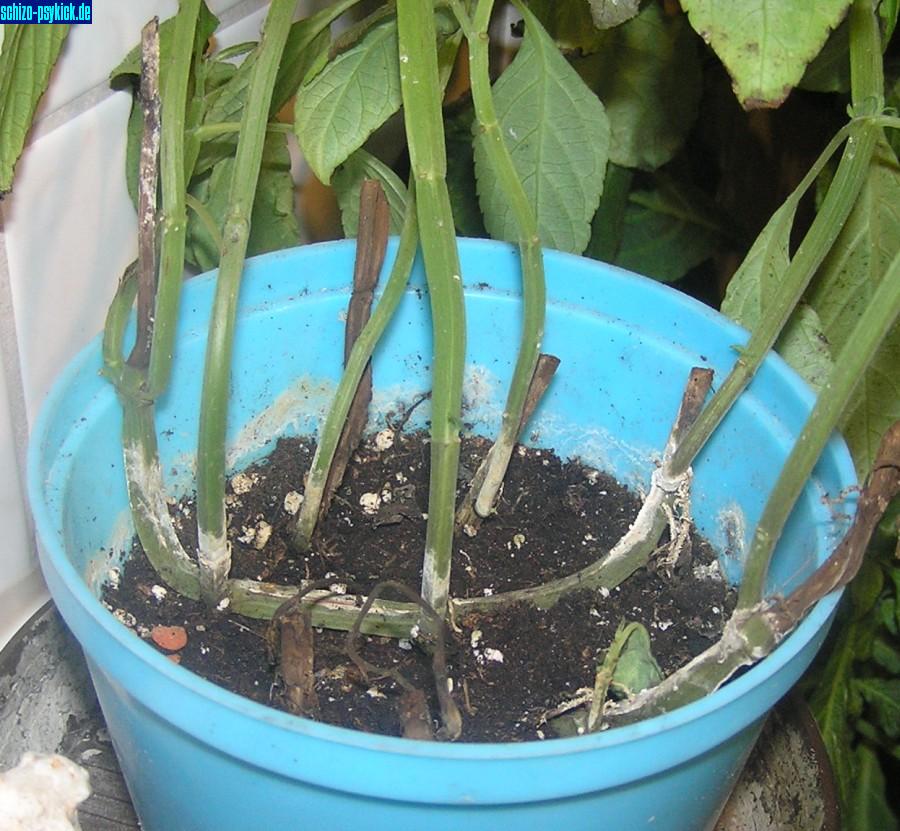
New Life 1 Here you can see a lot of new small but fresh sprouts between old plants and dead stems. They can be seen most often after winter between march and may when the plants get more natural light and start to grow much more. If the conditions are right and the roots well, then even not so well looking plants can develop fast that way during spring. Sometimes there grow little clusters at the base of some old plants with many possibilities for new sprout. |
|
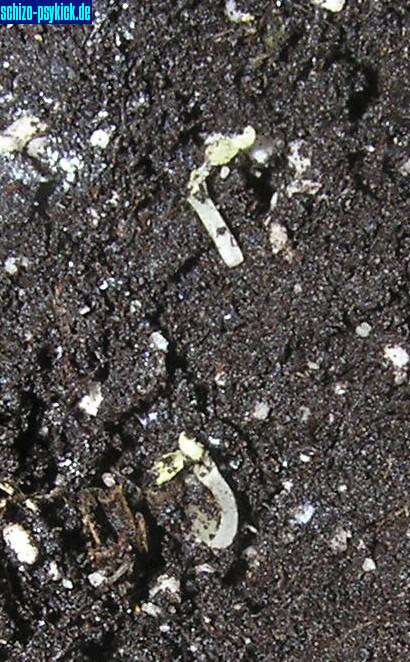
New Life 2 On this not so sharp image you can see a nice phenomena that is occuring sometimes. In the upper left corner you can see a new sprout coming out of earth, although the mother plant above earth had died some time ago. It seems that some stem parts can survive below the surface. And if there is a node then this part can start to grow again some days or weeks later. |
|
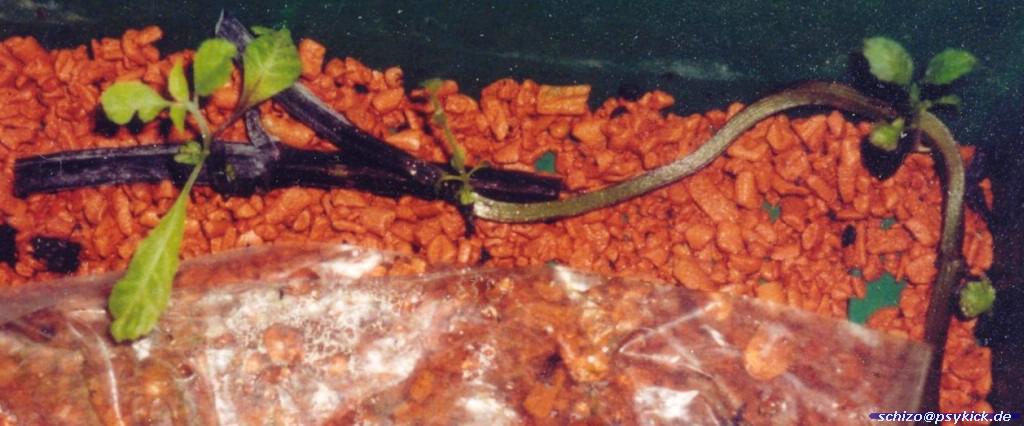
Underworld While digging in one of my Salviapots i found 1 cm under the surface these two tender pale sprouts as the rest of a plant that has died above the surface long time ago. Under bad conditions a plant may survive with this strategy. Thats why implant your cutting with a node near the surface. |
|
Stem Cuttings 1 Here some old stem parts which were not very healthy but nevertheless got roots on this wet "Seramis" and startet to bring new sprout. Better than throwing them away. |
|
Stem Cuttings 2 Some more recycling of old stems. Some may start to rot, but some should survive and will develop into new plant. |
|
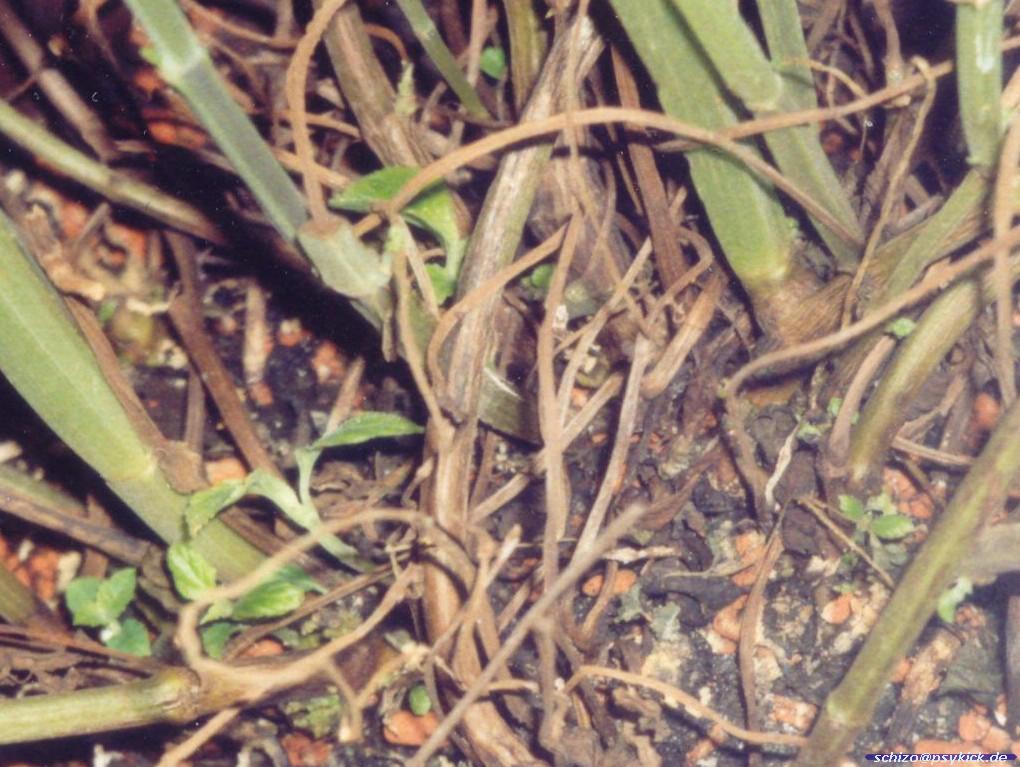
The natural way On this picture you can see how Salvia do propagate in the wild nature. The long stems will become heavier and heavier and start to tilt to the ground. In the wild nature these stems would touch the ground and get there roots while they are still connected to the motherplant. At U-shaped growing stems you can often see root formation near the lowest point because here the plants usually touch the ground. The plant can then start to grow new shots on each nope along the whole length of the stem like on a line. So this is a good propagating strategy. |
|
The natural way 2 Another example how Salvia divinorum could propagate in the wild nature by stems bending over and starting new sprouts. |

|
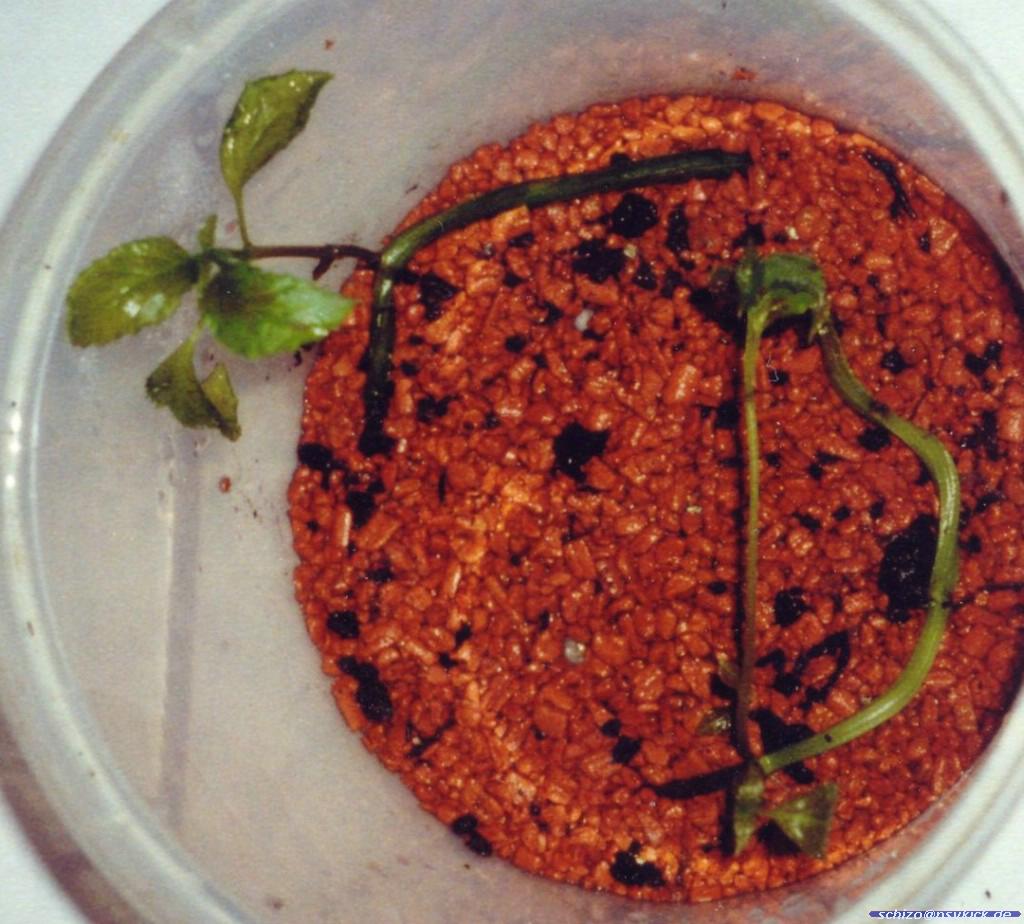
Cutted heads Head becoming feet. I cutted the good looking heads of these thin plants and placed them into simple holes in the ground of the same pot. Some water - ready. This worked so well because the whole plant was under a tent. Else I think the cuttings can't survive. Under the tent they could take up water from the air. So they had enough time to get roots without stress. A nice way to fill loose pots. |

|
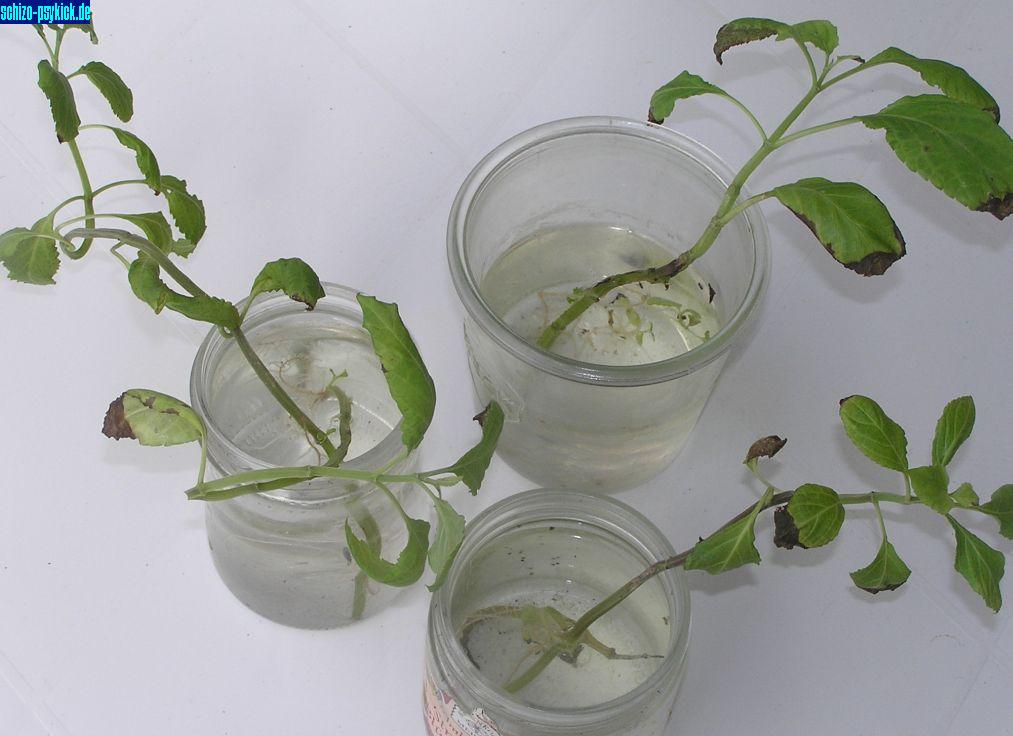
Duplication Part 1 At the left side in a glass of water there are some fresh head cutting, which were made from the plants in the right pot. A lot of these plants became were thin and had only leaves at their tips. So my plan was to cut the heads and bring them to root, while the plantrest should sprout again. The plan worked well, so that I had around twice as much plants as originally were in this pot. |

|
Duplication Part 2 Here the rest in the old pot, which should sprout again. |
|
Duplication Part 3 Here the head cuttings, which were standing in a waterglass to get roots. Usually you should place them in several glasses because it can be tricky to separate the roots later. |
|
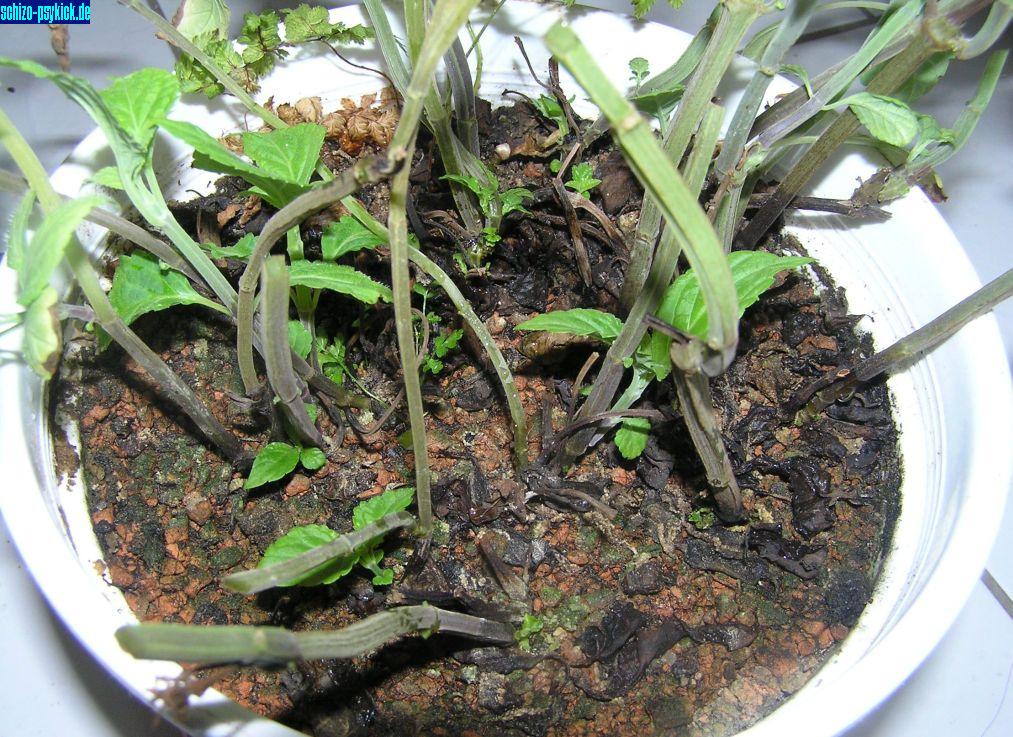
Duplication Part 4 Here the surface of the old pot in a macro shot. You can see a lot of new baby Salvia divinorum plants around the base of most stems. When the conditions are right they should develop into full sized plants. |
|
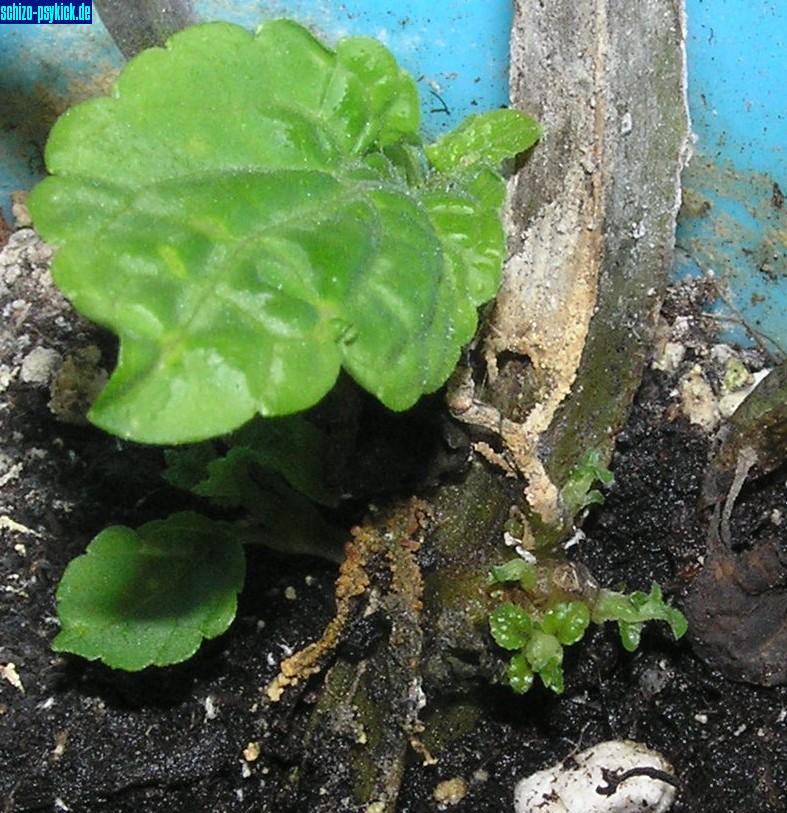
Kindergarden 1 A kindergarten at the base of an old stem. |

|
Kindergarden 2 Another kindergarten at the base of an old stem. |
|
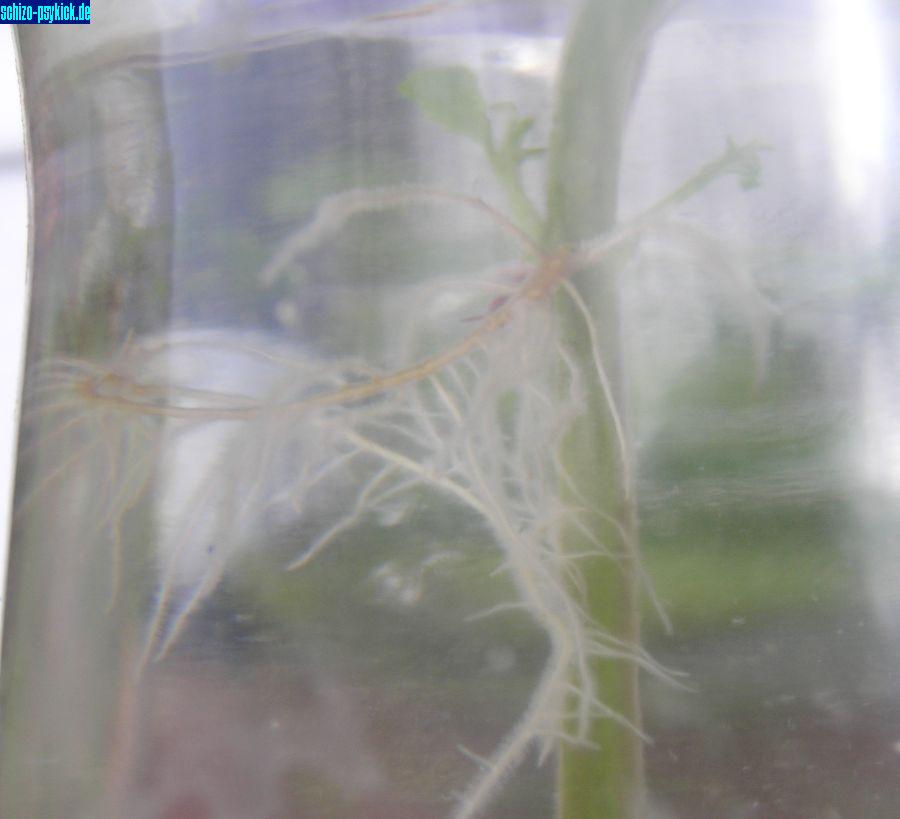
New roots 1 Here a long new roots with several sidebranches in a glass of water. Usually you should put the plants in earth before the roots become so long because they are not very stable and break easily. |
|
New roots 2 Some older roots, that get roots in their glases. |
|
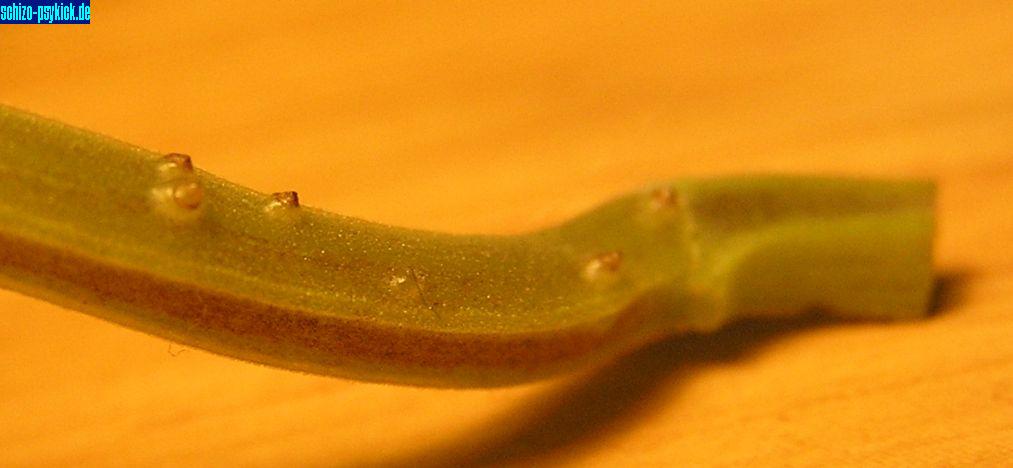
Root sources At this stempies you can see some predefined roots. You find them most often at the lowest parts of bending stems because there is the highest chance for contact with the ground. |

|
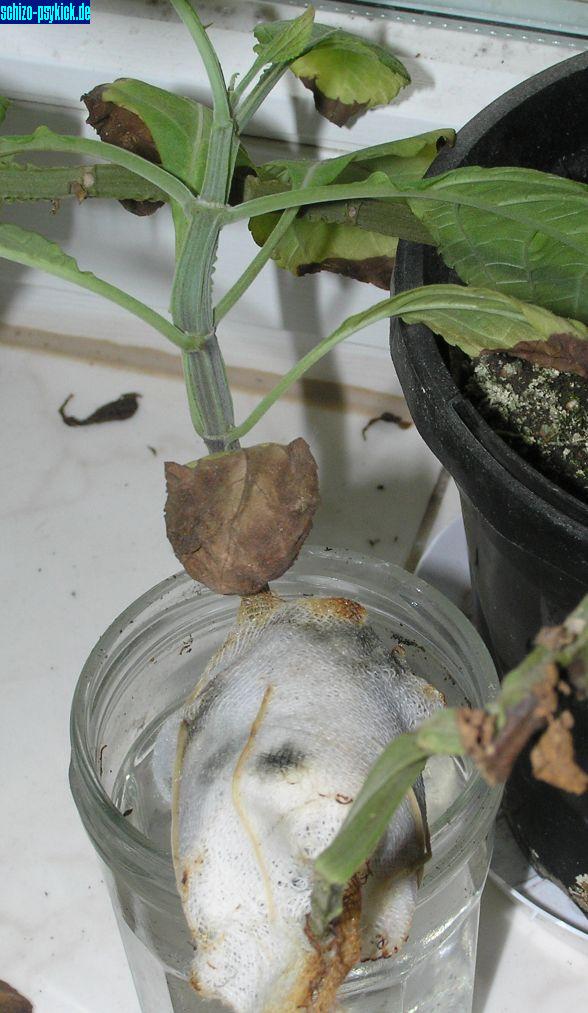
Jiffy Cuttings Methode - Image 1 Here a new but strange methode to make cuttings of Salvia divinorum. I let an Jiffy pot soak with water, then I cutted this soaked pot including the net in two halfes. (was not so easy). I packed the halfes around a Salvia stem and fixated it with a bandage (therefore you need 4 arms). Then I made everything wet again. I place this construction on the border of a glass of water, because the wet jiffy was quite heavy. One end of the bandage was hanging in the water to keep everything wet, but I have to water the jiffy sometimes. Because of the wet bandage the plant got roots at this part of the stem. They grew throught the jiffy and throught the bandage. |
|
Jiffy Cuttings Methode - Image 2 The same rooted stem again. This method has the advantage that the later cutting is still growing in the earth while getting roots above the surface. Thats why you don't need to cover the plant. It can use it's original root system to get water. |
|
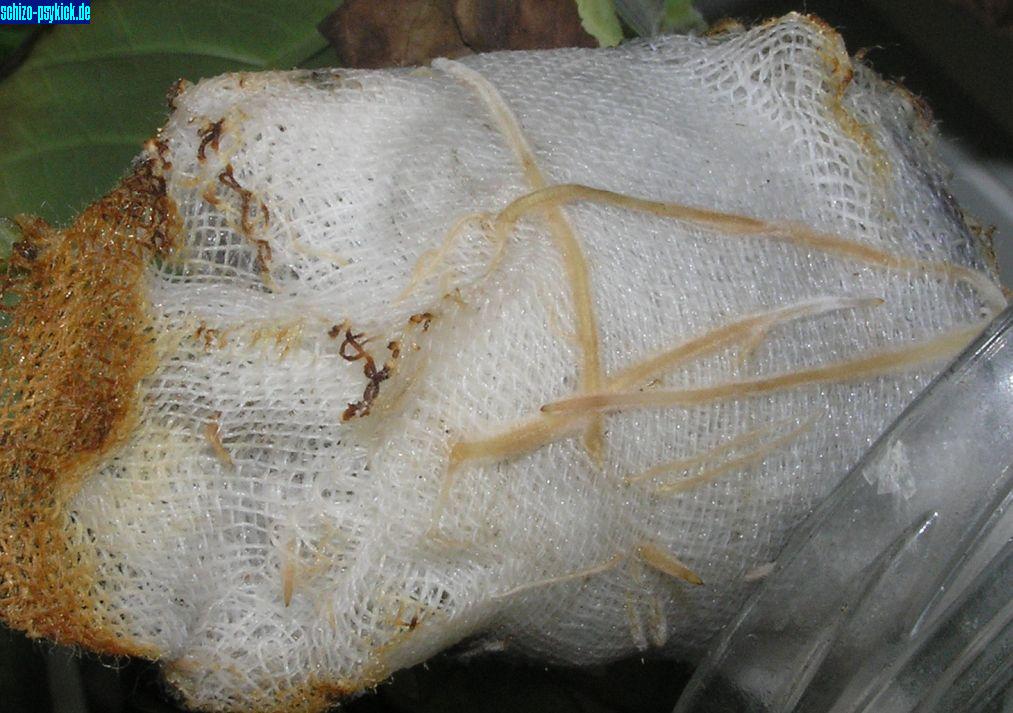
Jiffy Cuttings Methode - Image 3 The Jiffy pot with the bandage, through which the roots came out. |
|
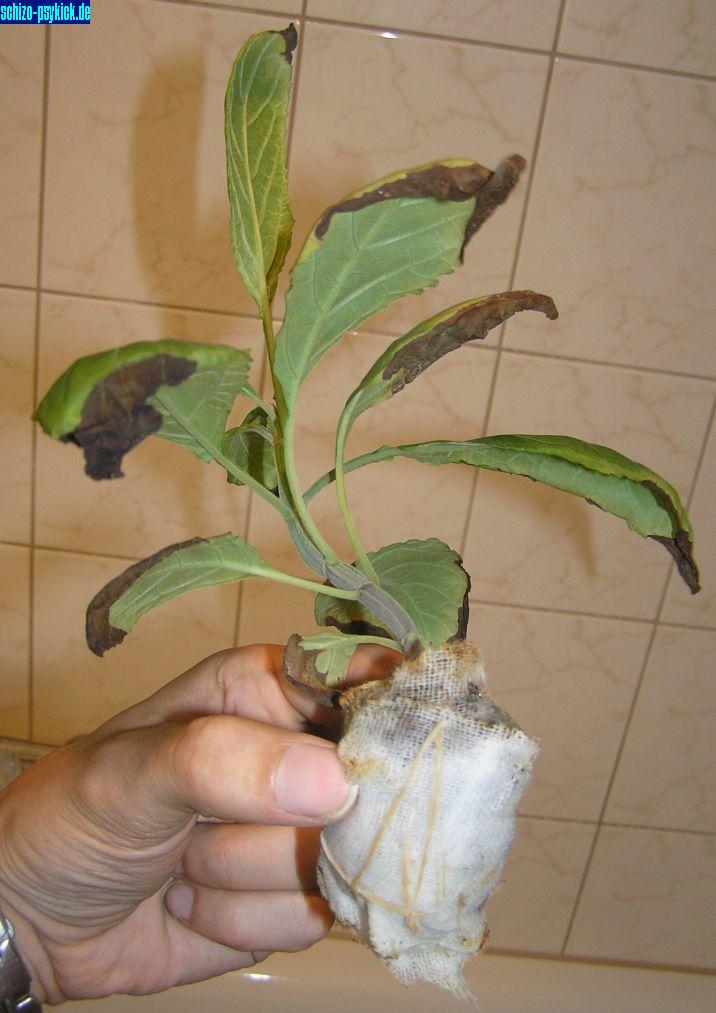
Jiffy Cuttings Methode - Image 4 Because the plant has now many roots you can cut the stem below the jiffy. So you have an easy to handle, already rooted cutting which you easily can plant into fresh earth. Disadvantages: much work for one cutting and the bandage may show signs of mold and bacteria, but that wasn't a problem in my case. Advantages: save method of making cuttings without the need to cover plants and thus preventing them from stress through change of air humidity. |
|
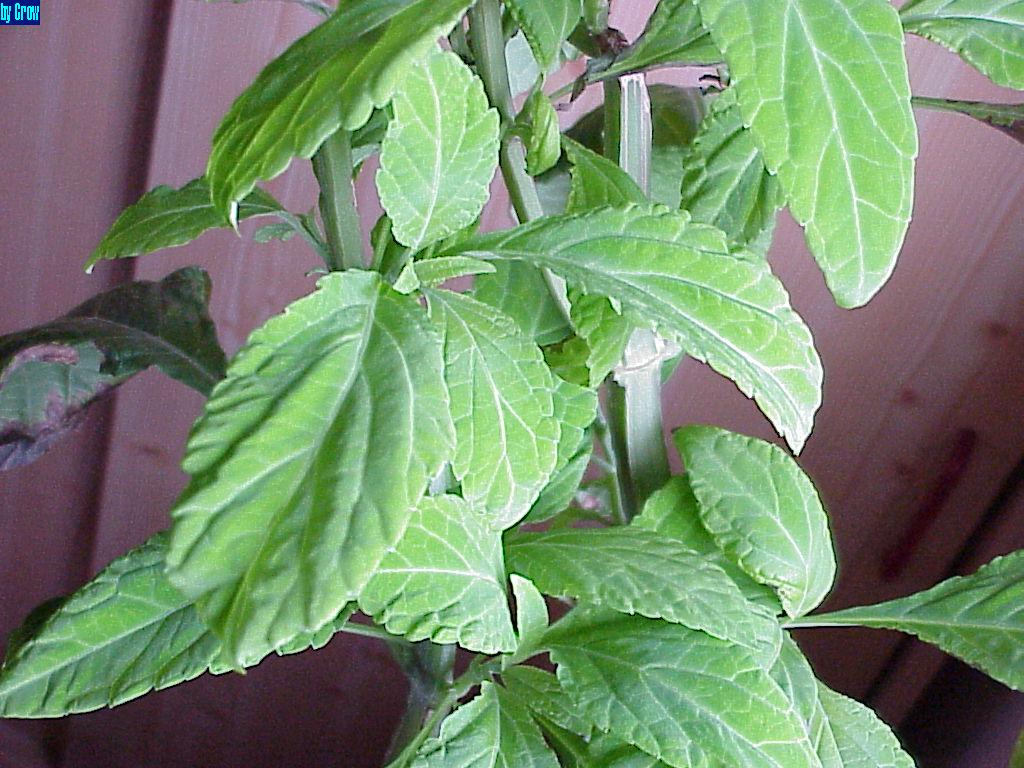
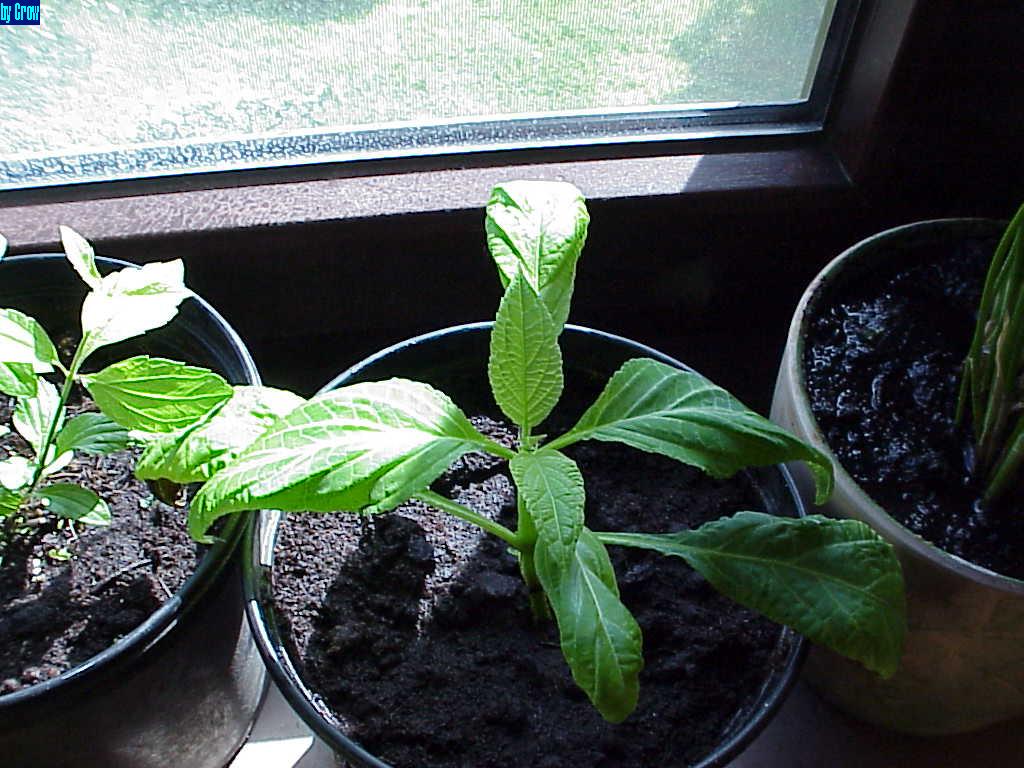
Cutting developing into a plant - Image 1 - by Crow Fat sidebranches at a mother plant |
|
Cutting developing into a plant - Image 2 - by Crow Mother plant and cuttings in glasses |
|
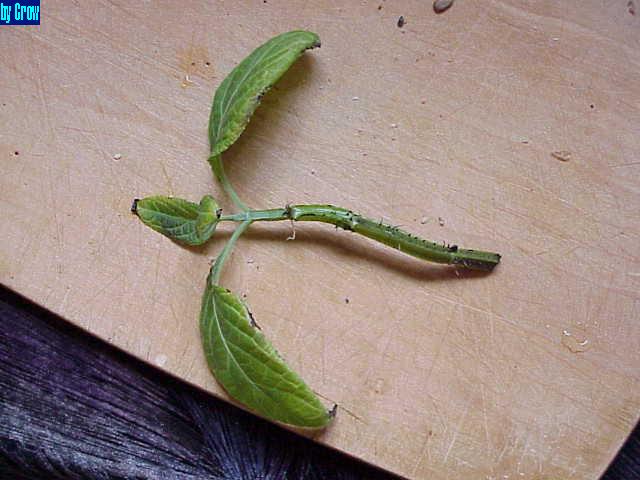
Cutting developing into a plant - Image 3 - by Crow Cutting |
|
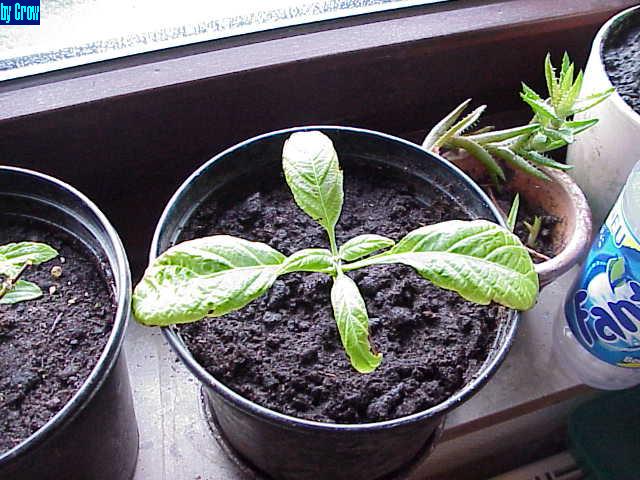
Cutting developing into a plant - Image 4 - by Crow Potted cutting |
|
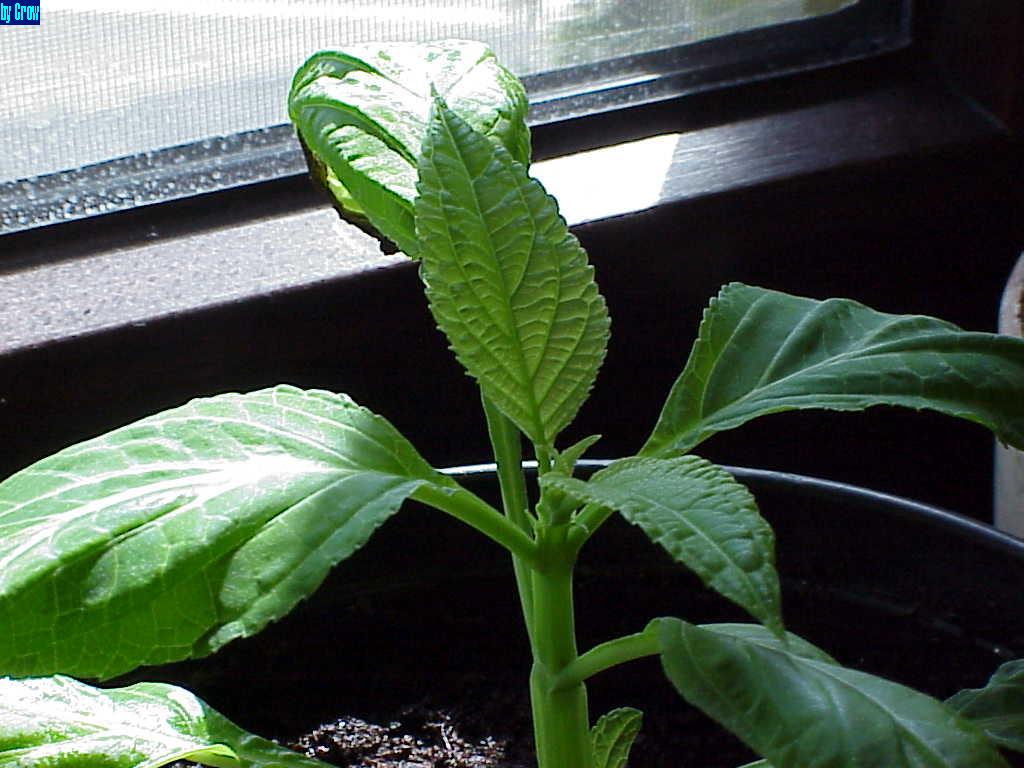
Cutting developing into a plant - Image 5 - by Crow The cutting grows ... |
|
Cutting developing into a plant - Image 6 - by Crow ... became bigger ... |

|
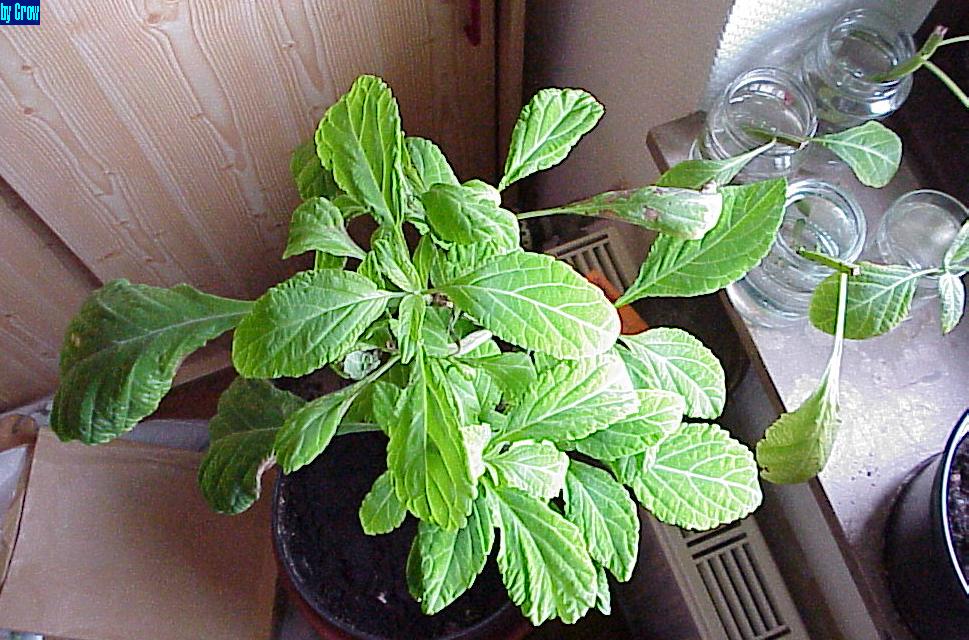
Cutting developing into a plant - Image 7 - by Crow ... and is finally a full sized perfect plant. |
|
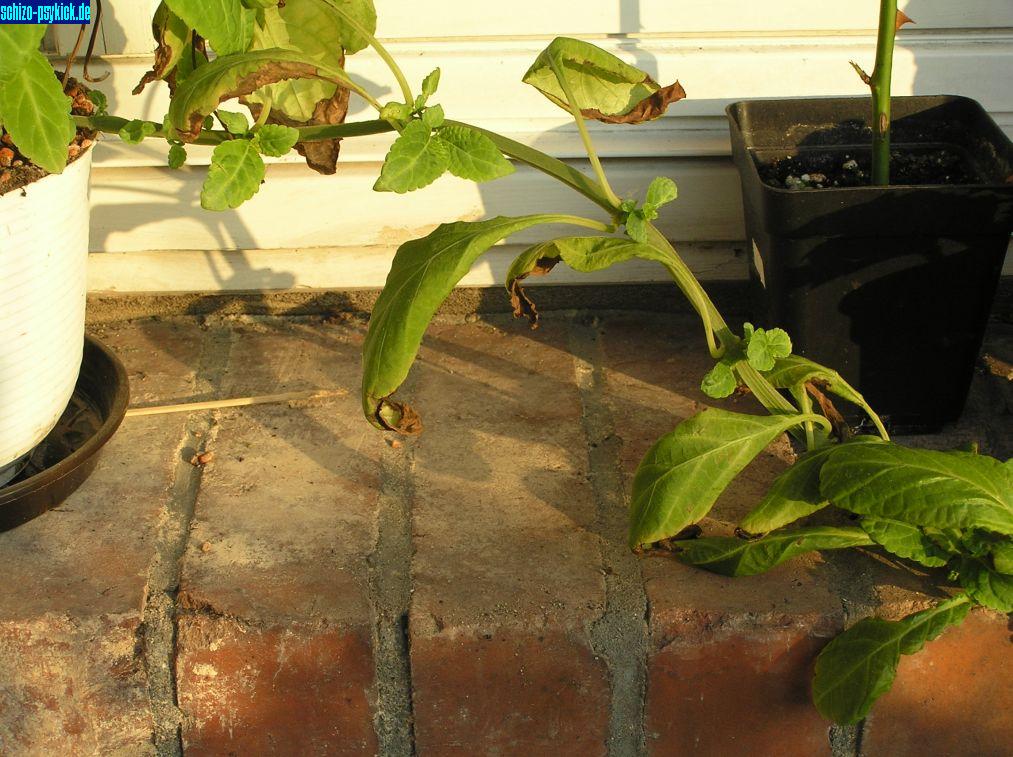
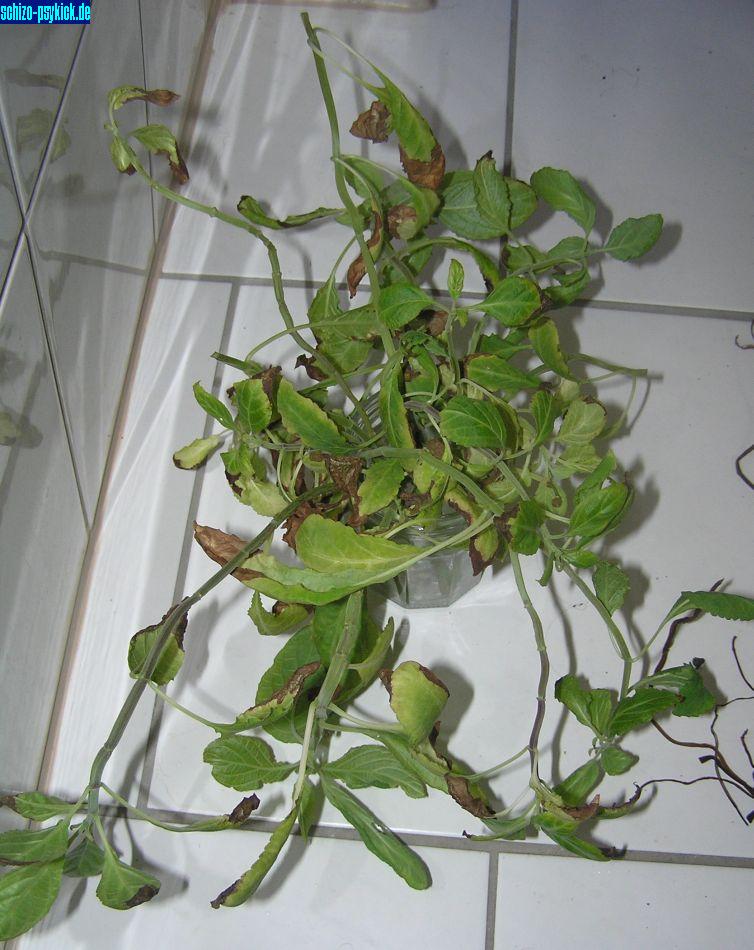
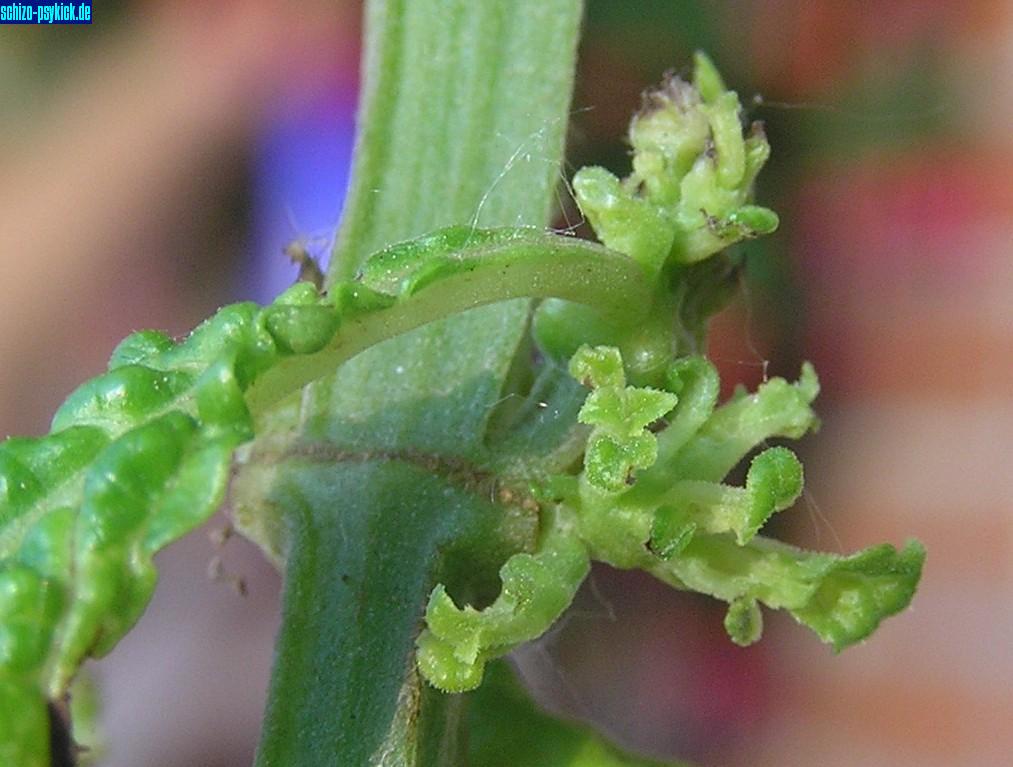
Growing tips This plant had some problems in the past and that why some burned tips. Nevertheless you can see a lot of young sprouts near the base of the leaves. These can develop into new branches. |
|
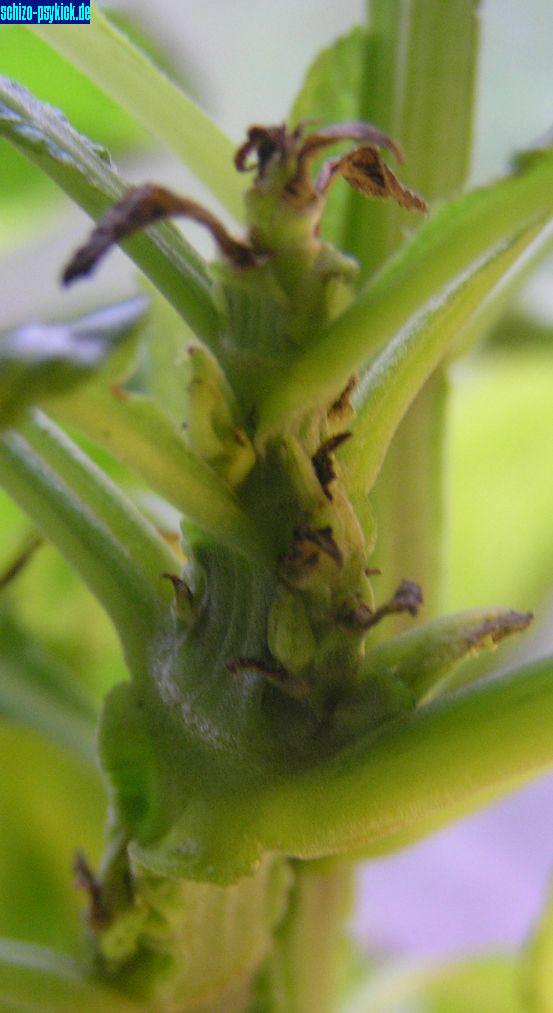
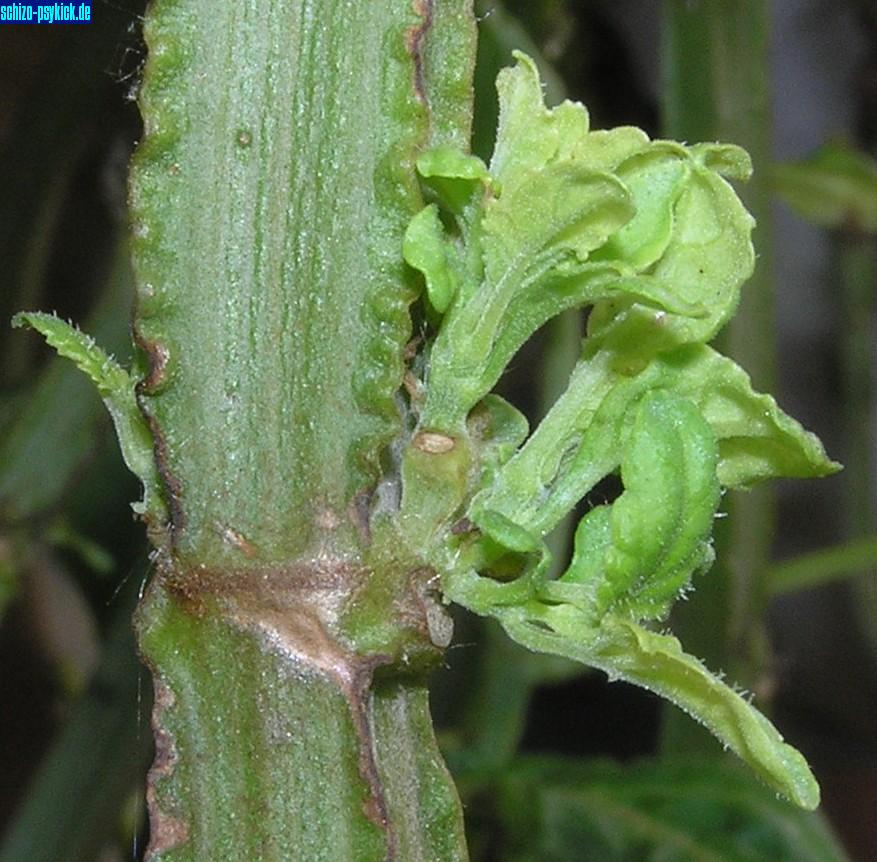
Nice Tip This plant is obviously healthy. Thats why she had this nice growing tip. You can also see the "ears" very well that are formed by the border short under the base of the leaves. |
|
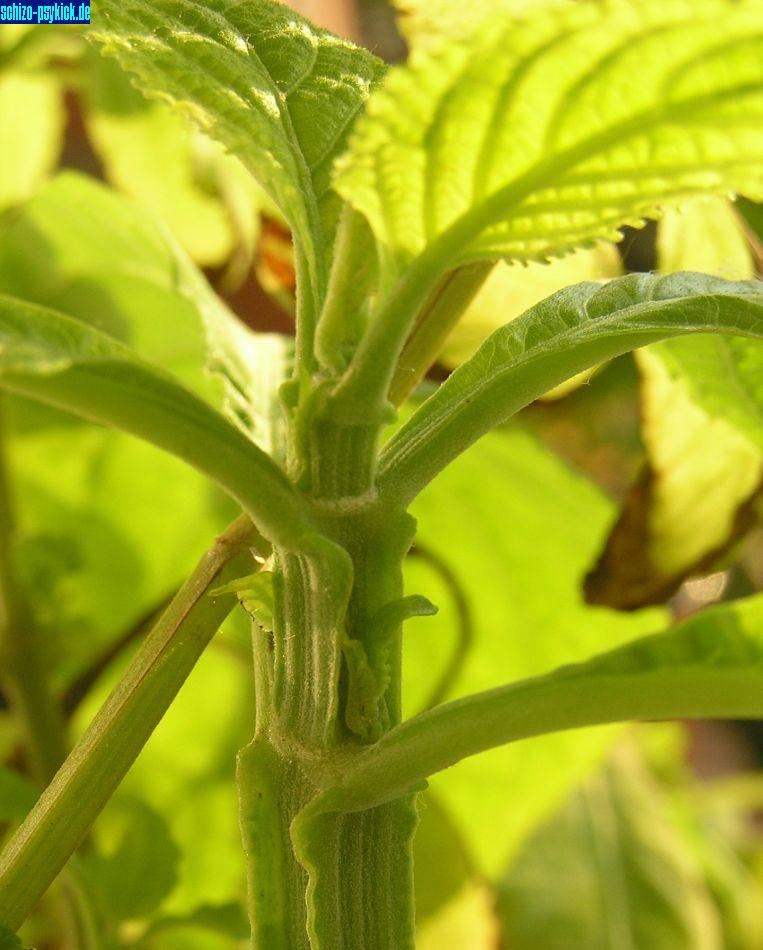
3 Branches Here you can see how there is growing a branch under a branch and a 3rd branch under these two. |
|
5 Branches A wild bunch of 5 small branches growing at the side of a stem. |
|
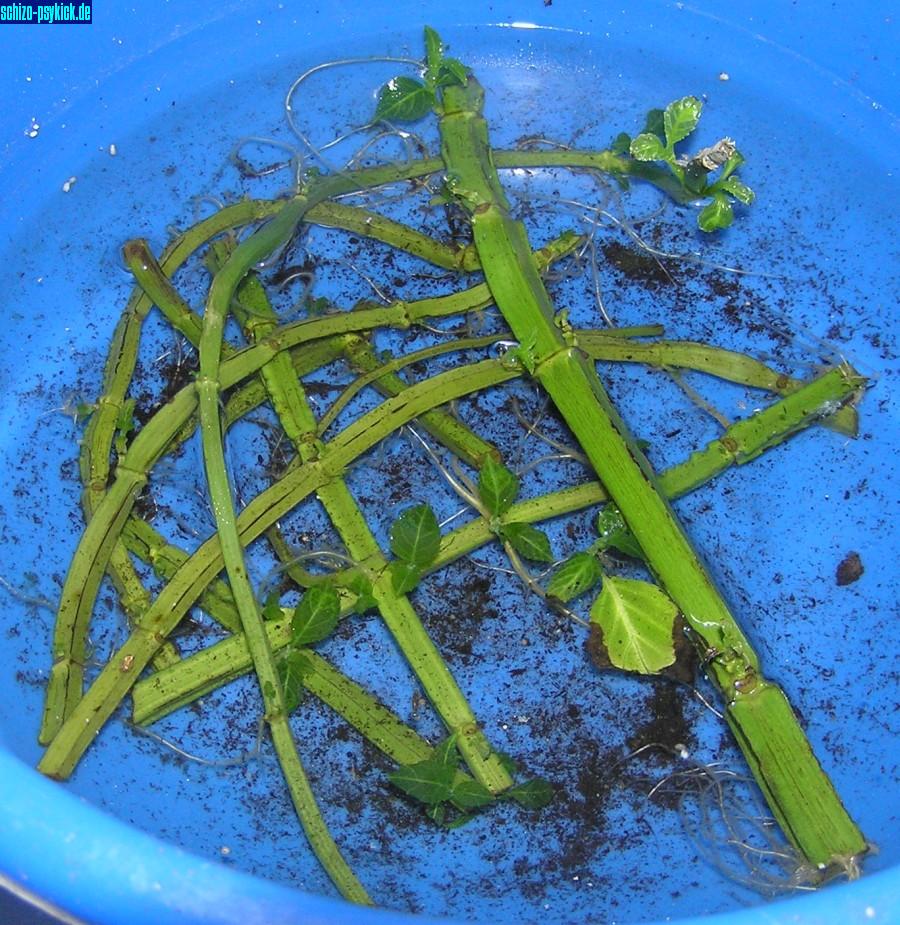
New roots on old stems 1 I had some old stems and put them in a bowl with water that was standing on our balcony. After some days they got powerful roots and new branches. So I could recycle these old parts. |
|
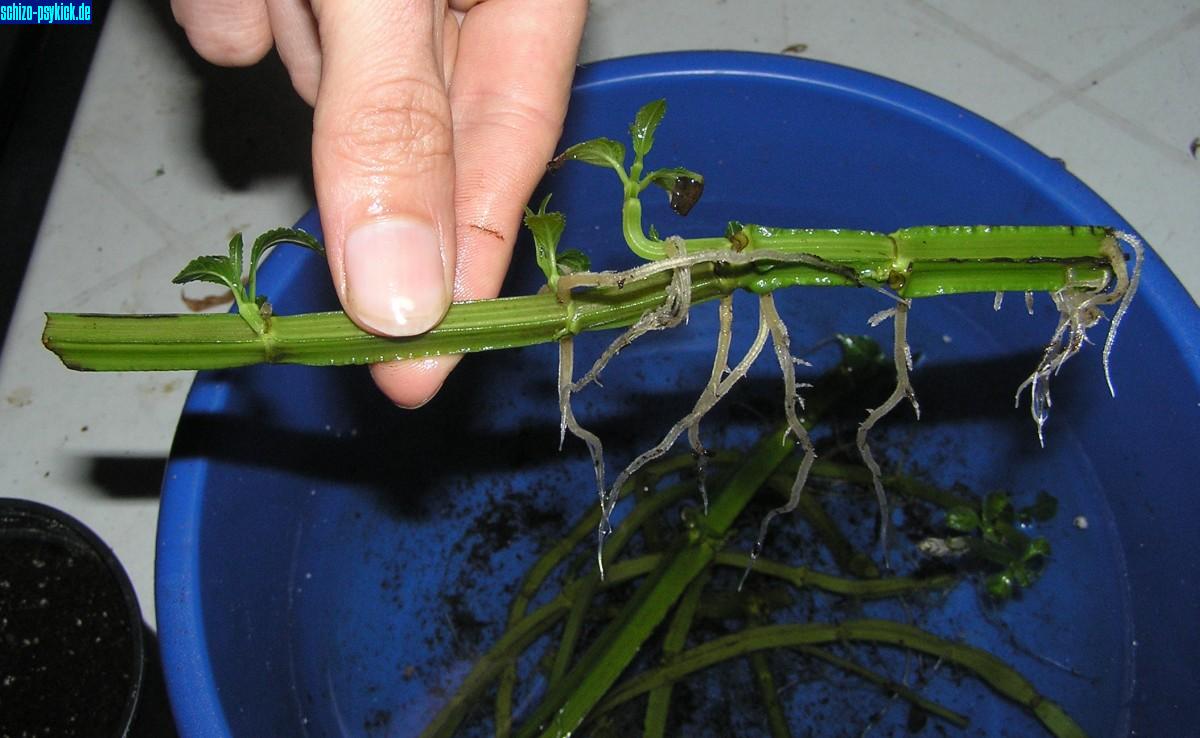
New roots on old stems 2 Here you can see healthy white roots. Its best to implant this one horizontal and let the side braches grow upwars. |
|
Horizontal Cutting Here you can see a horizontal stempieces. It's roots grew into the soil. As a result the old stempart is bend in U-form and there are 5 new branches growing out of it. |
|
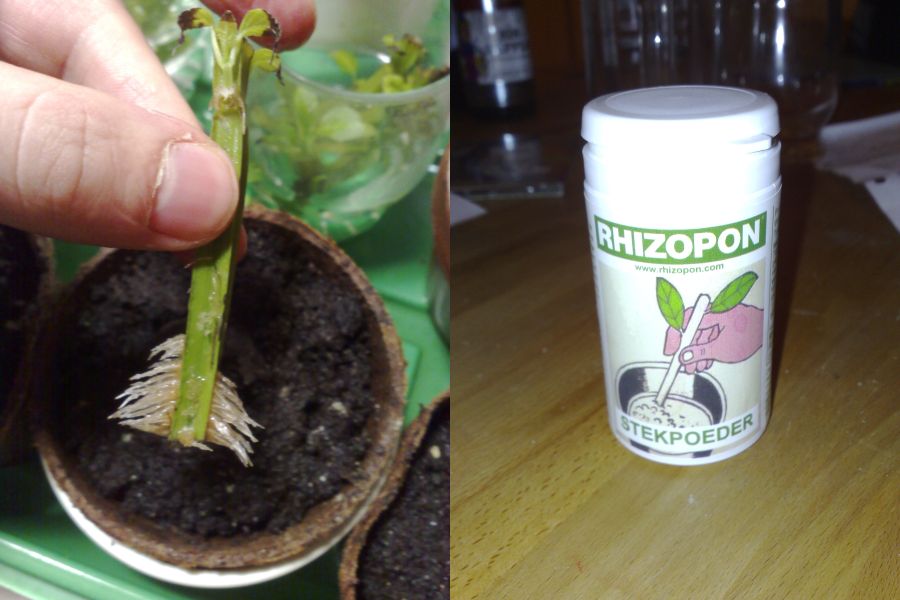
Cutting with Rhizopon Cutting got nice dense roots after using Rhizopon. Perfect state to put in soil. Image by Ferdinand M. |